MODEL 777
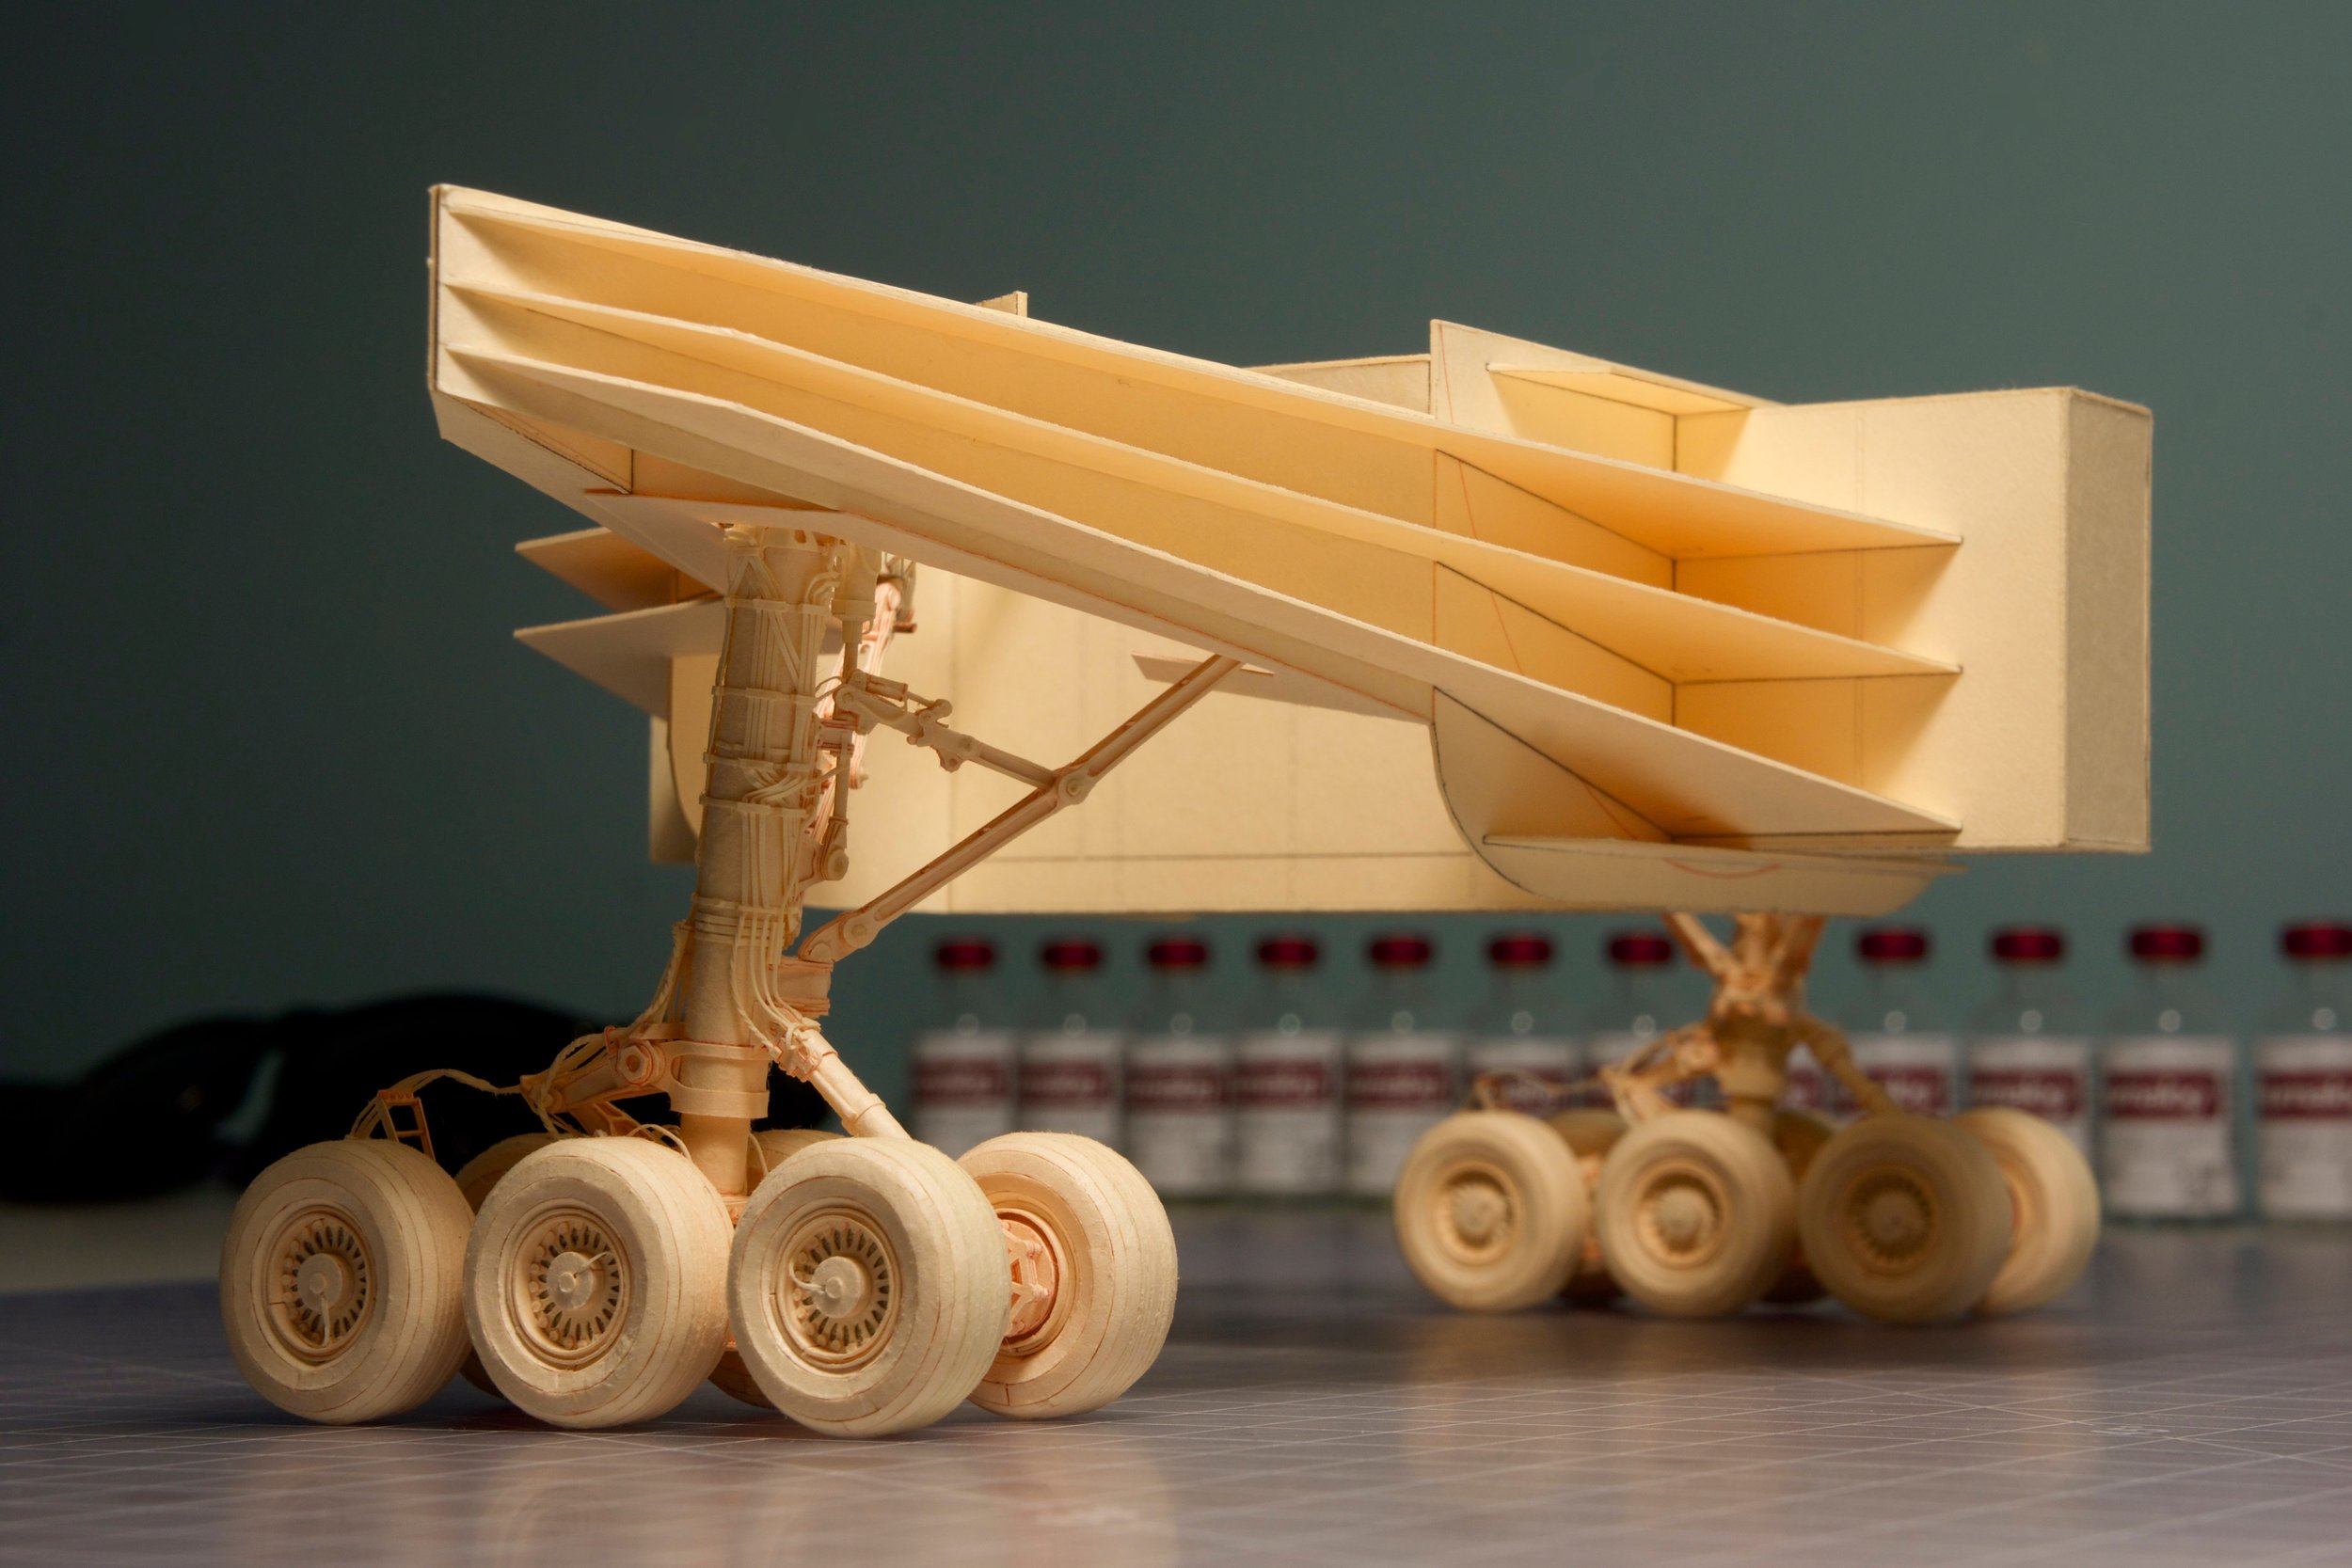
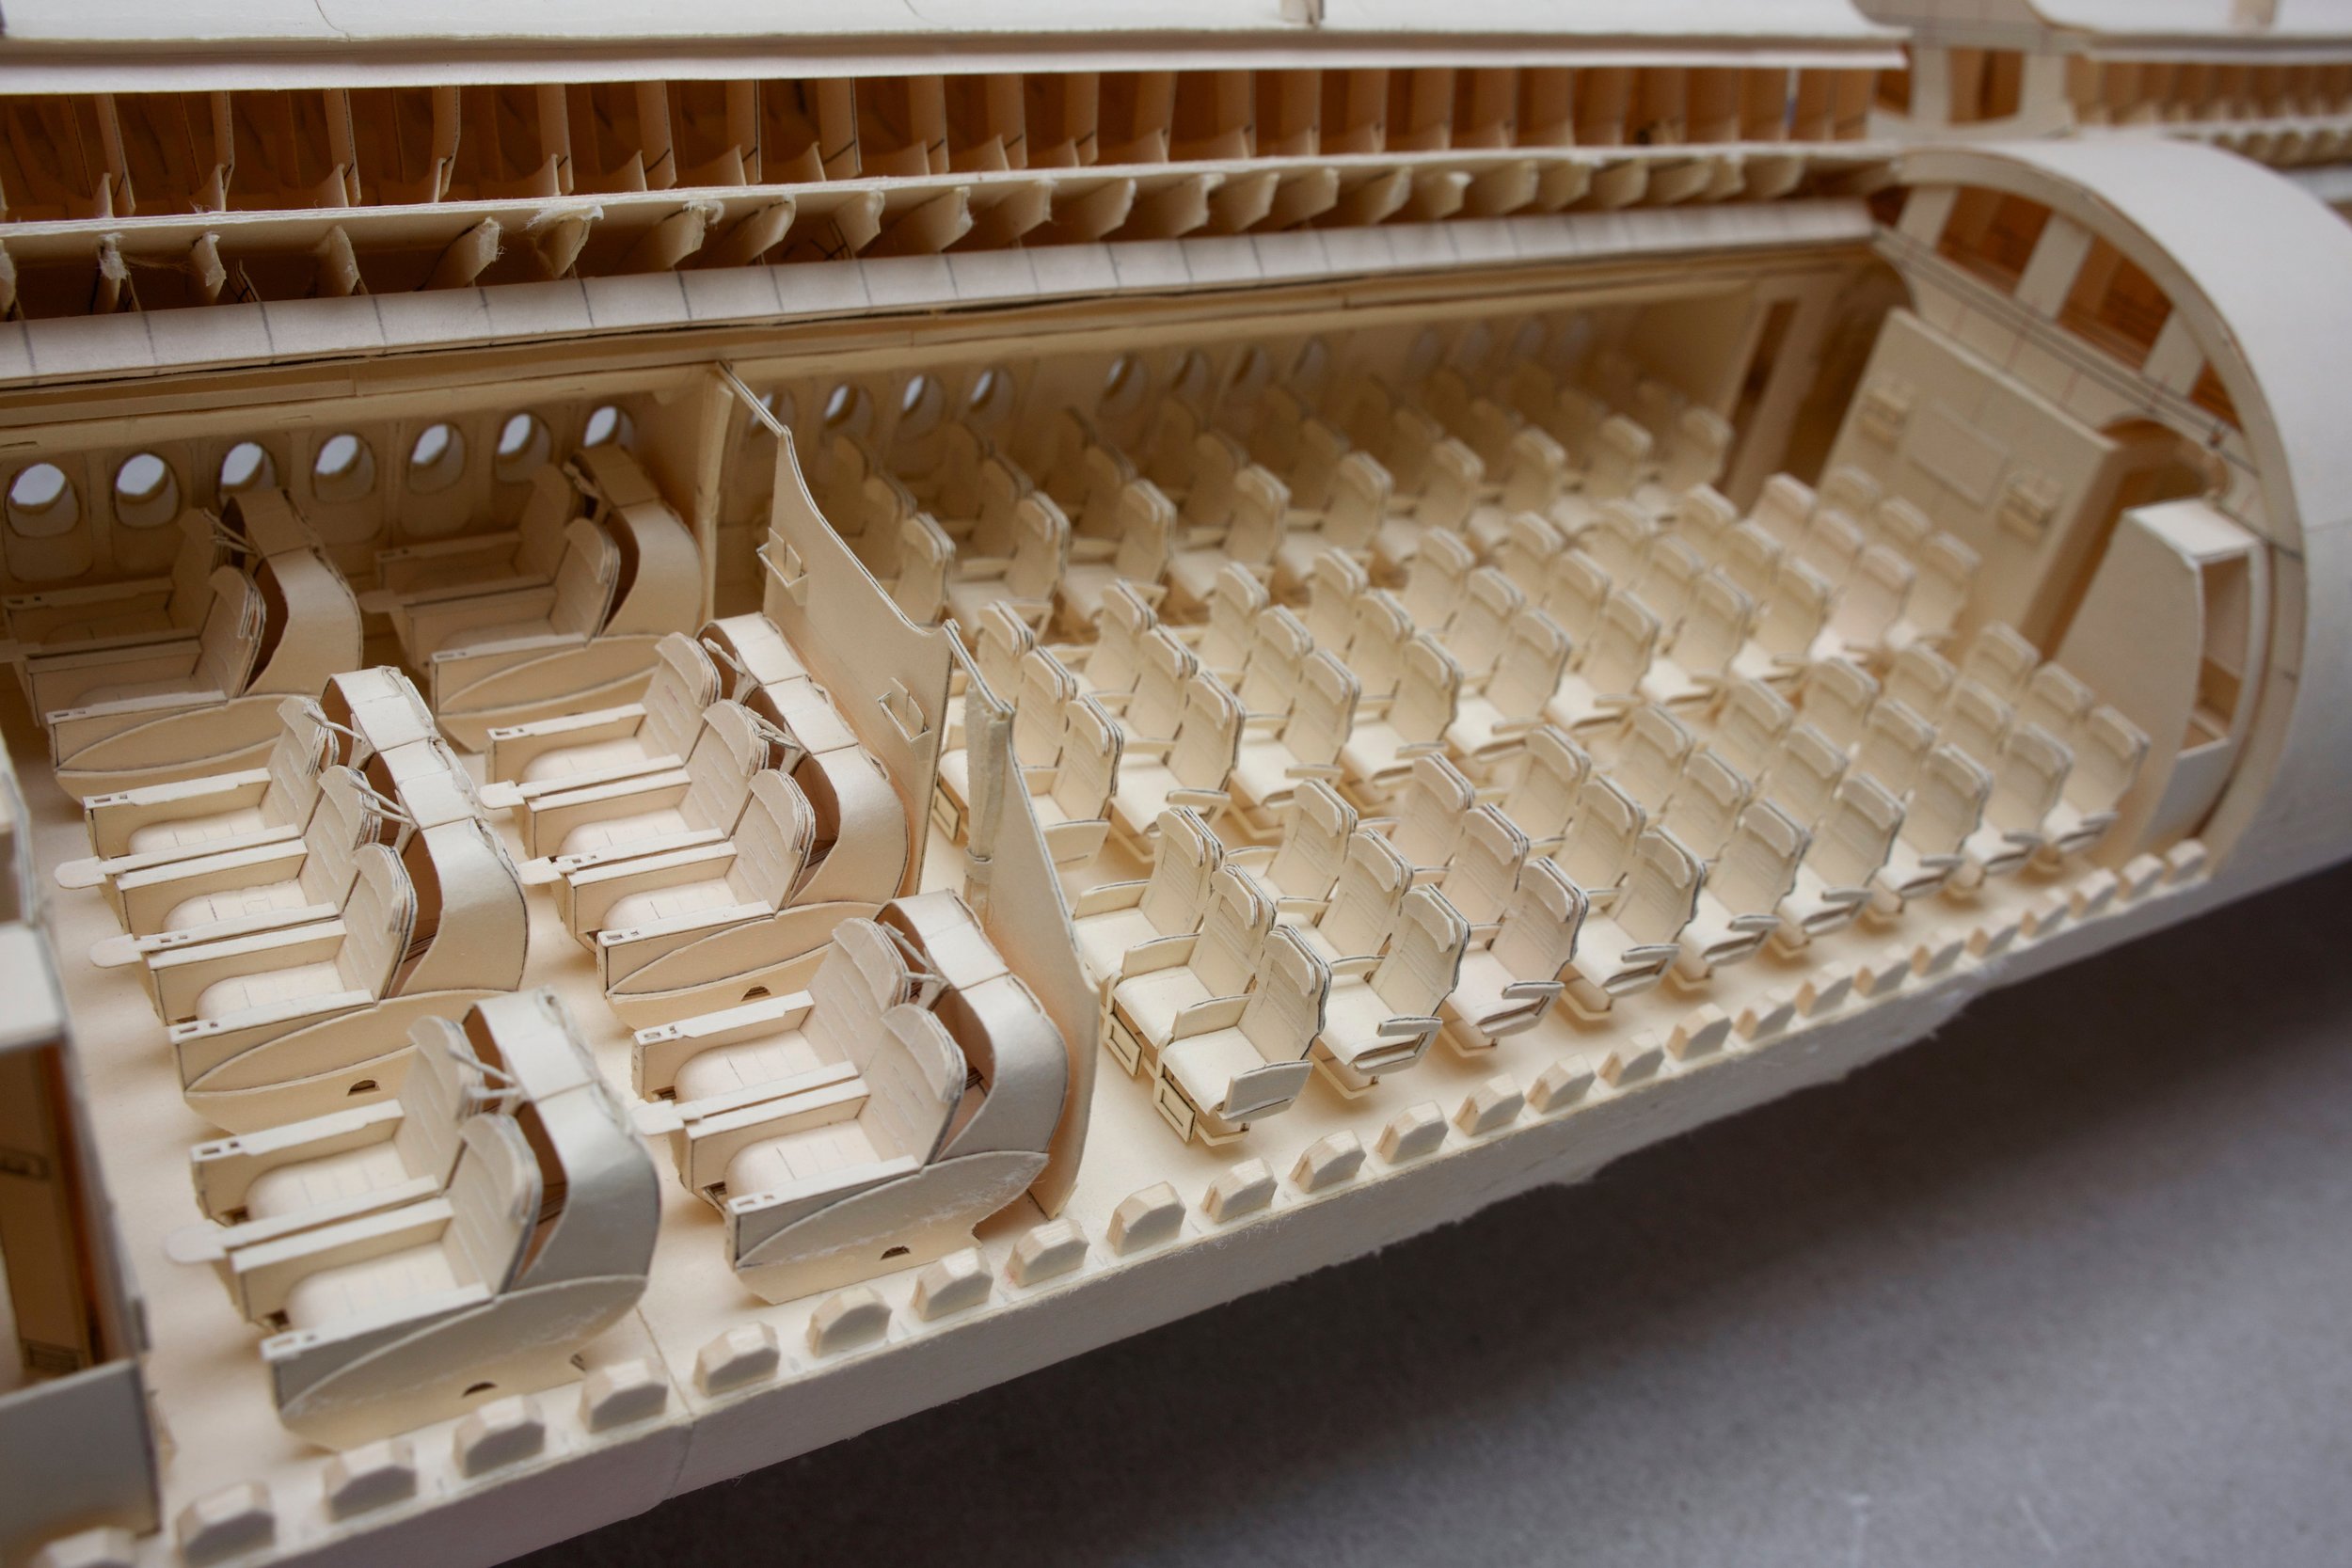
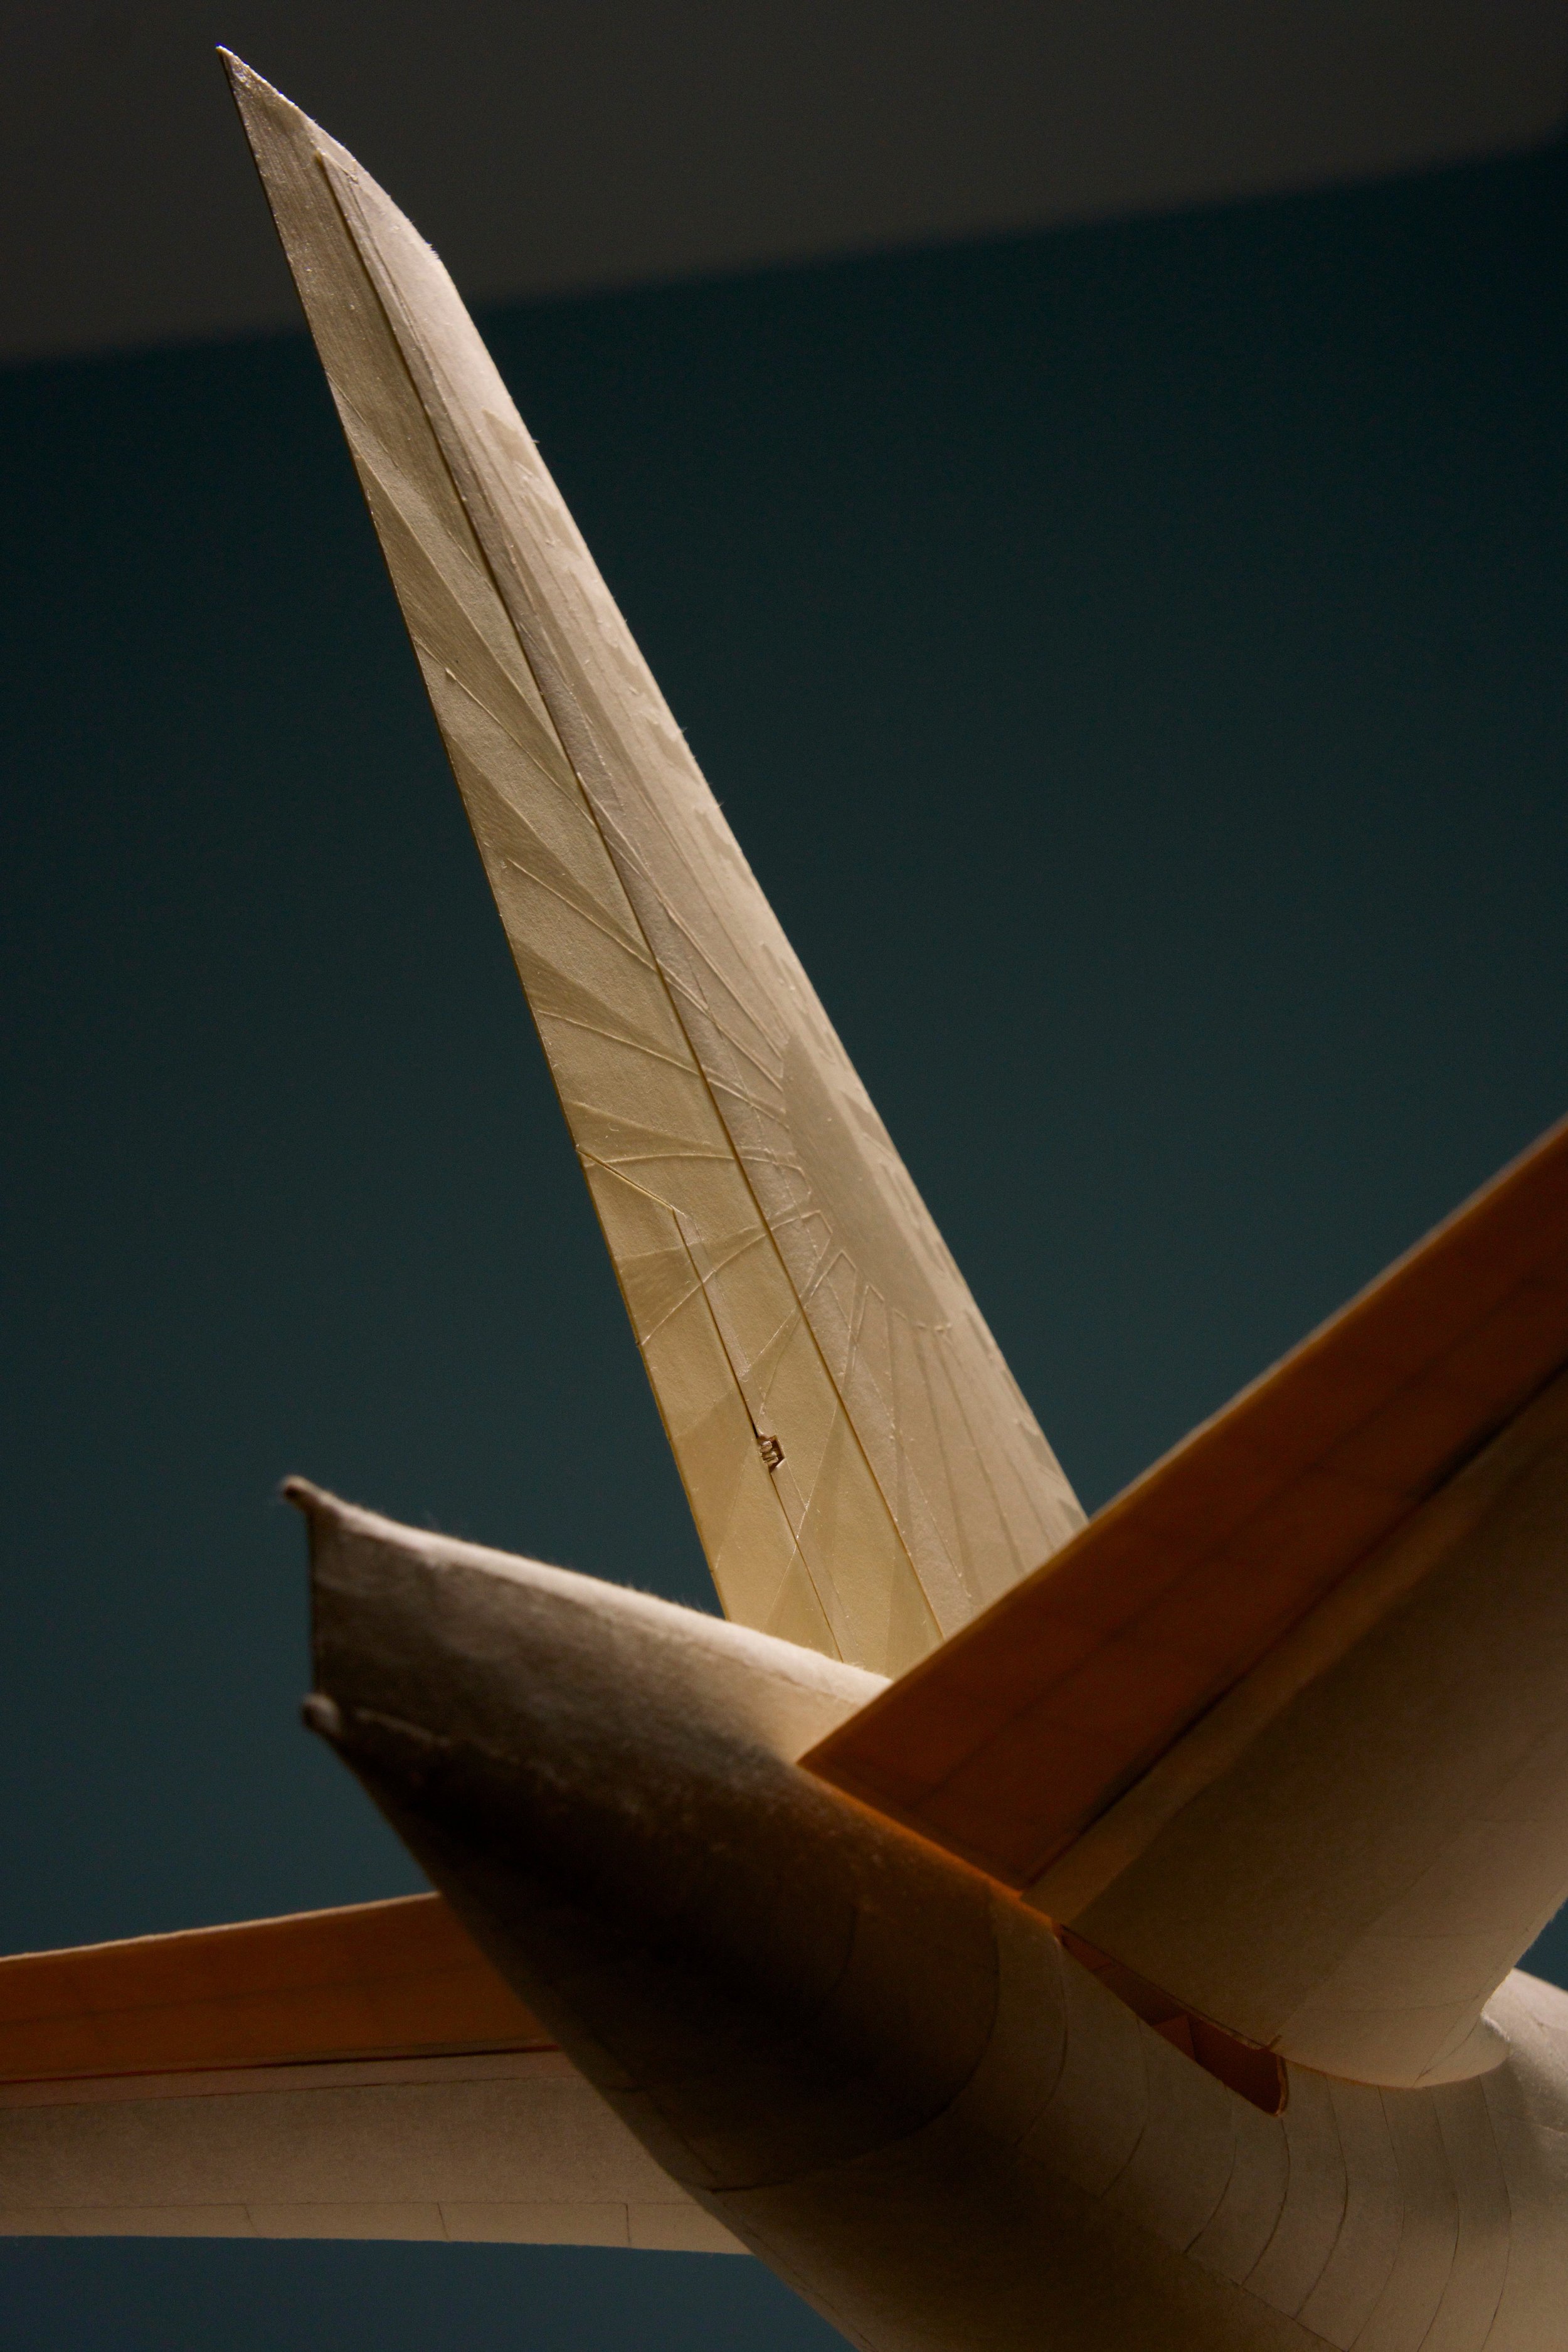
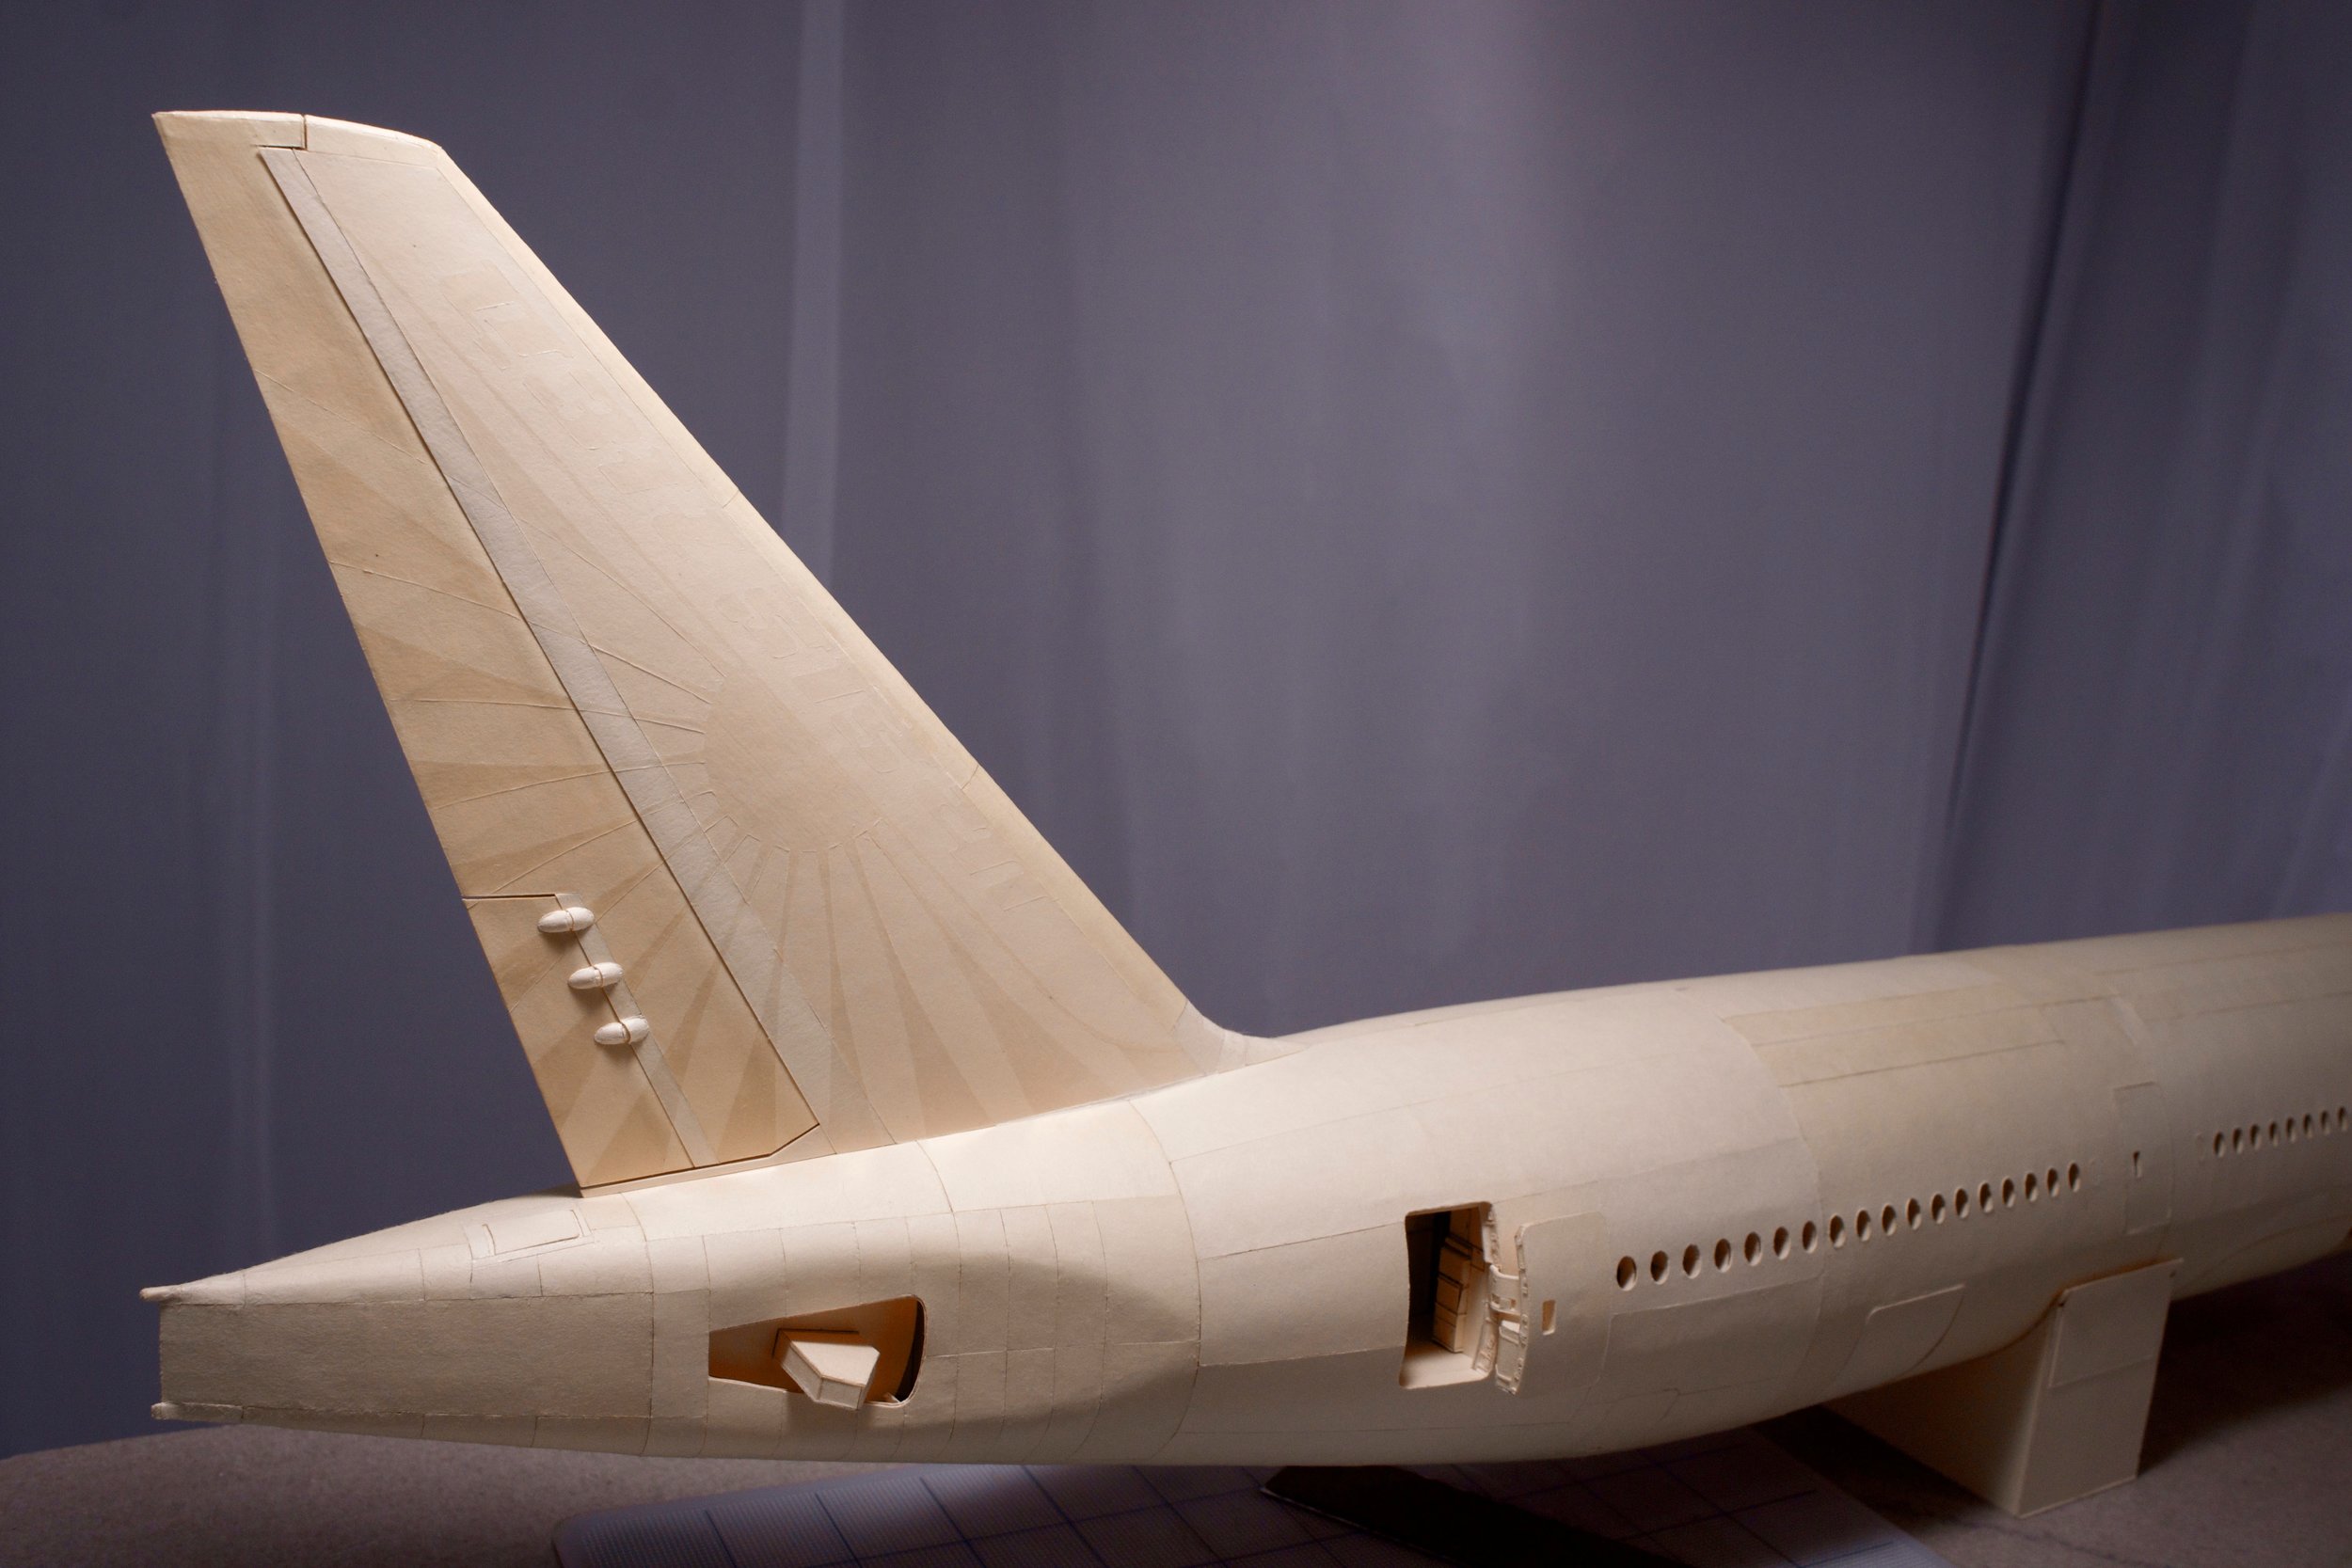
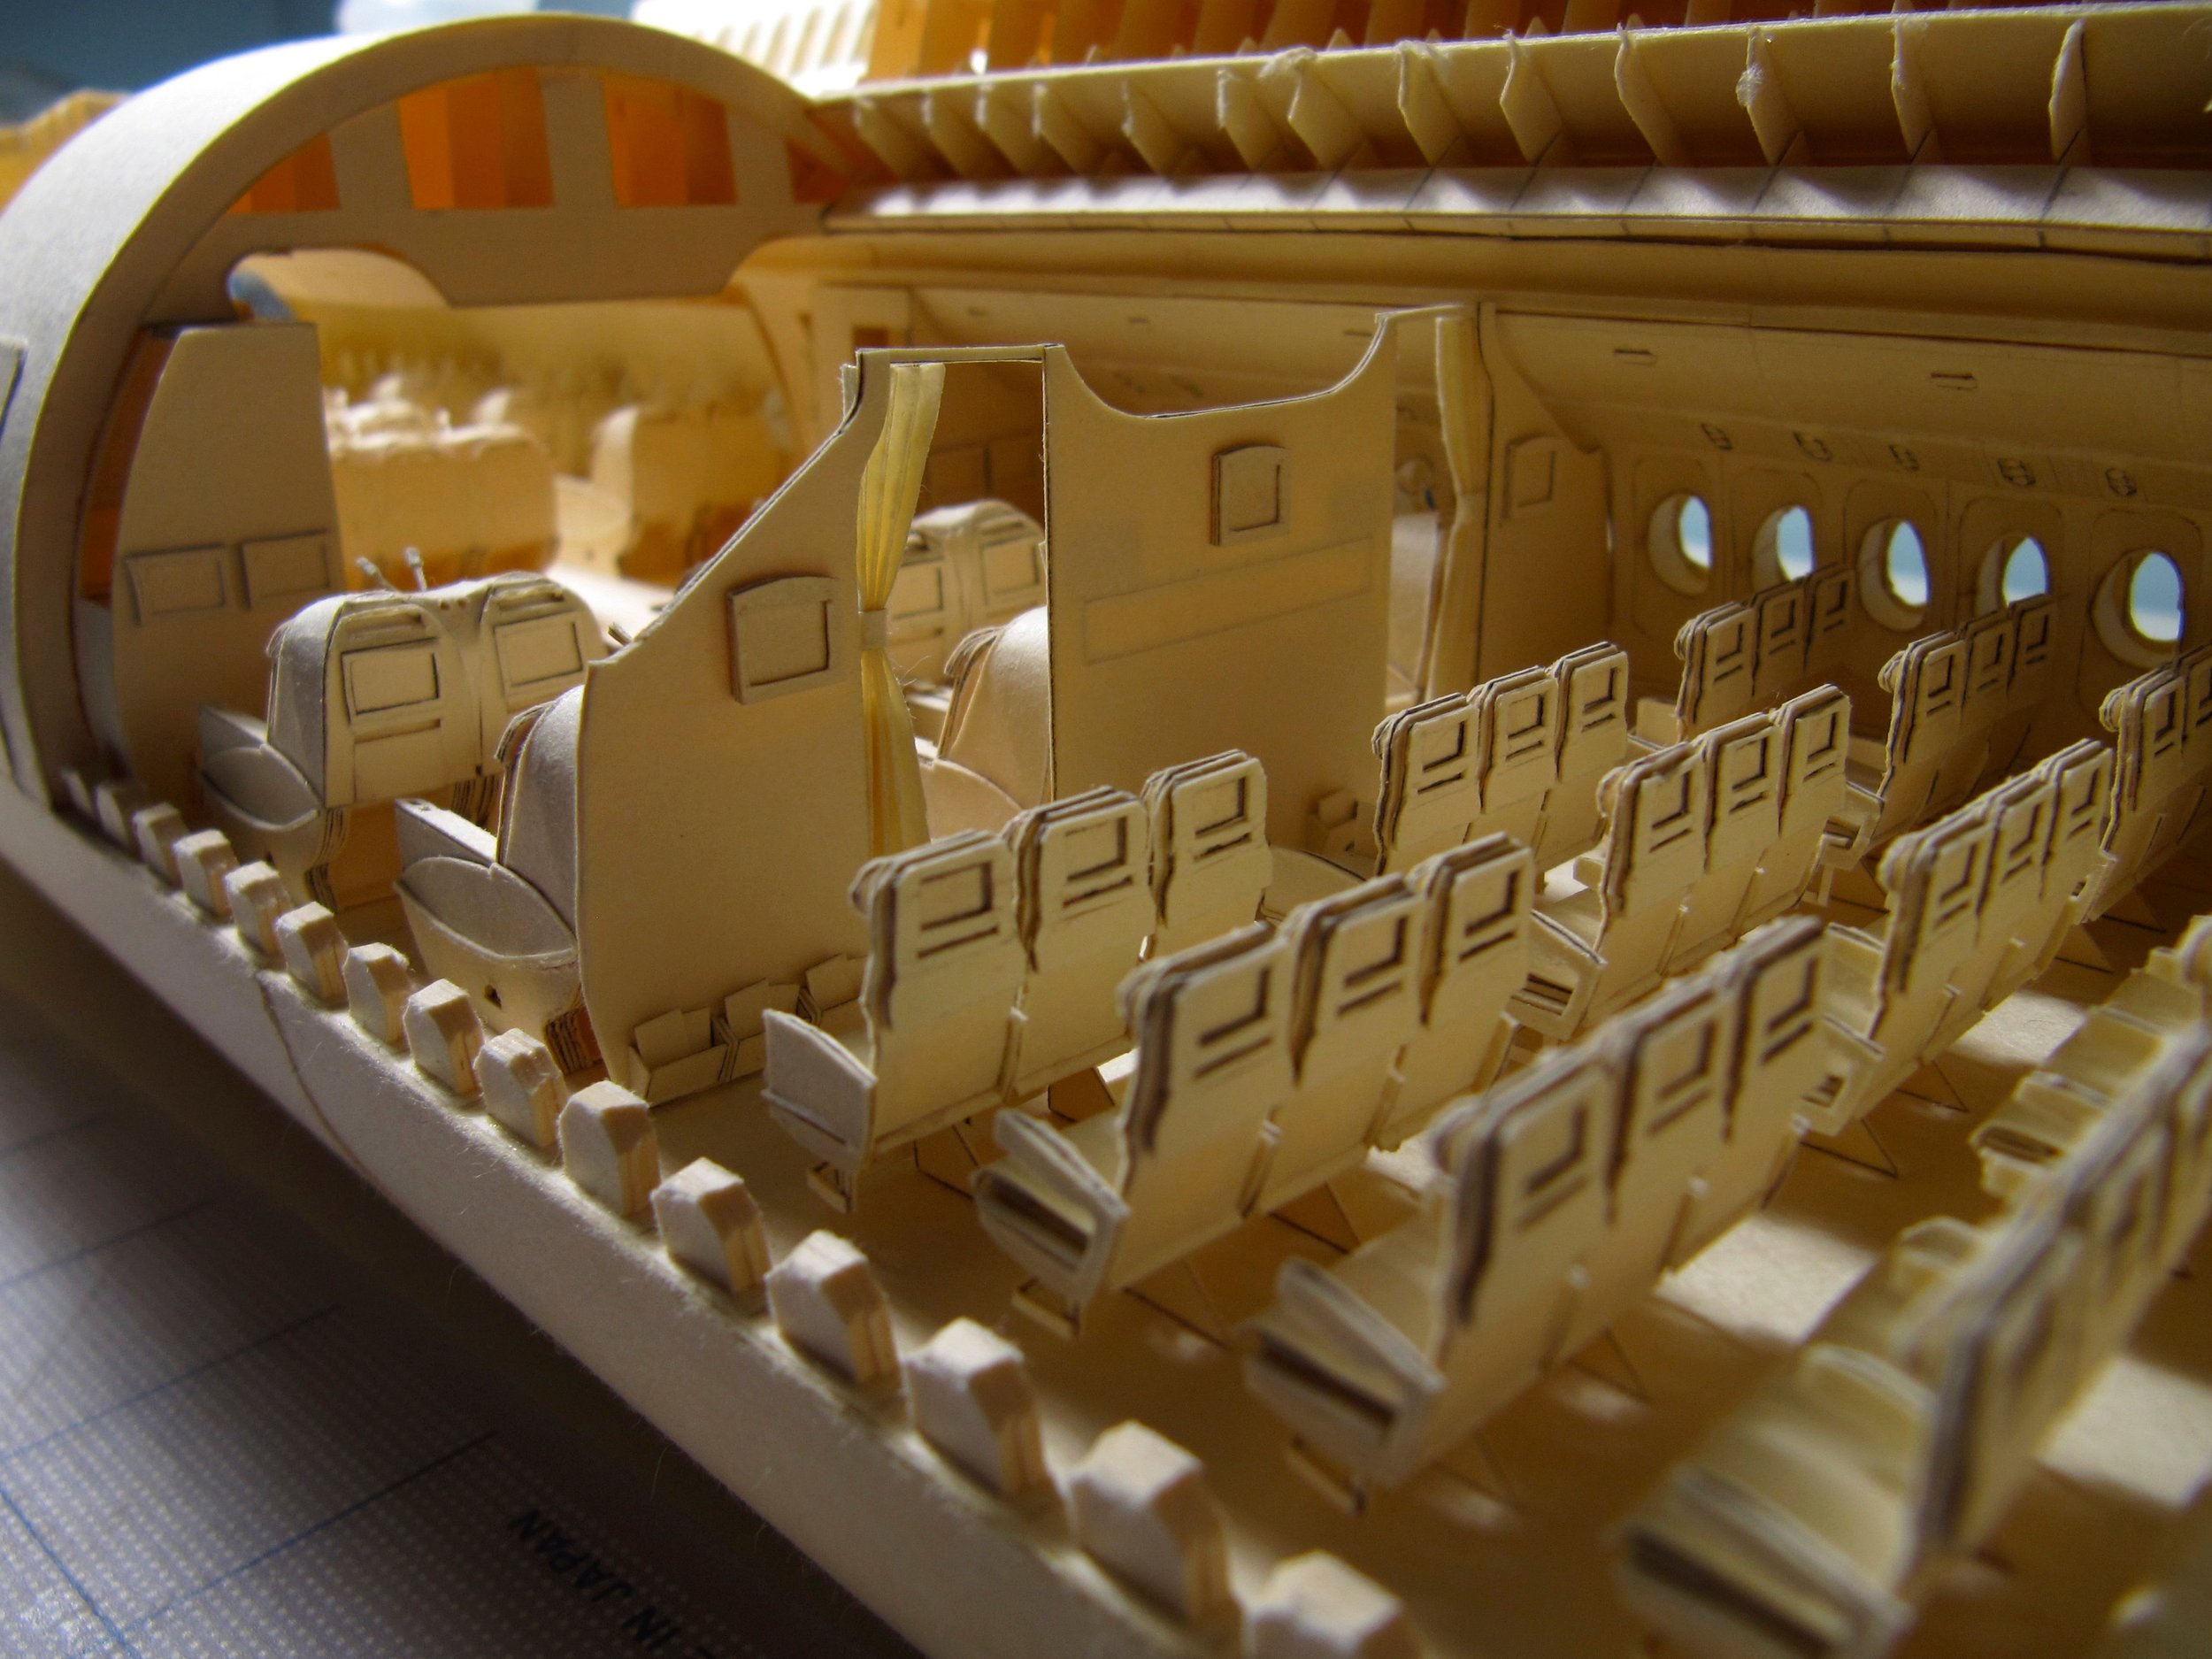
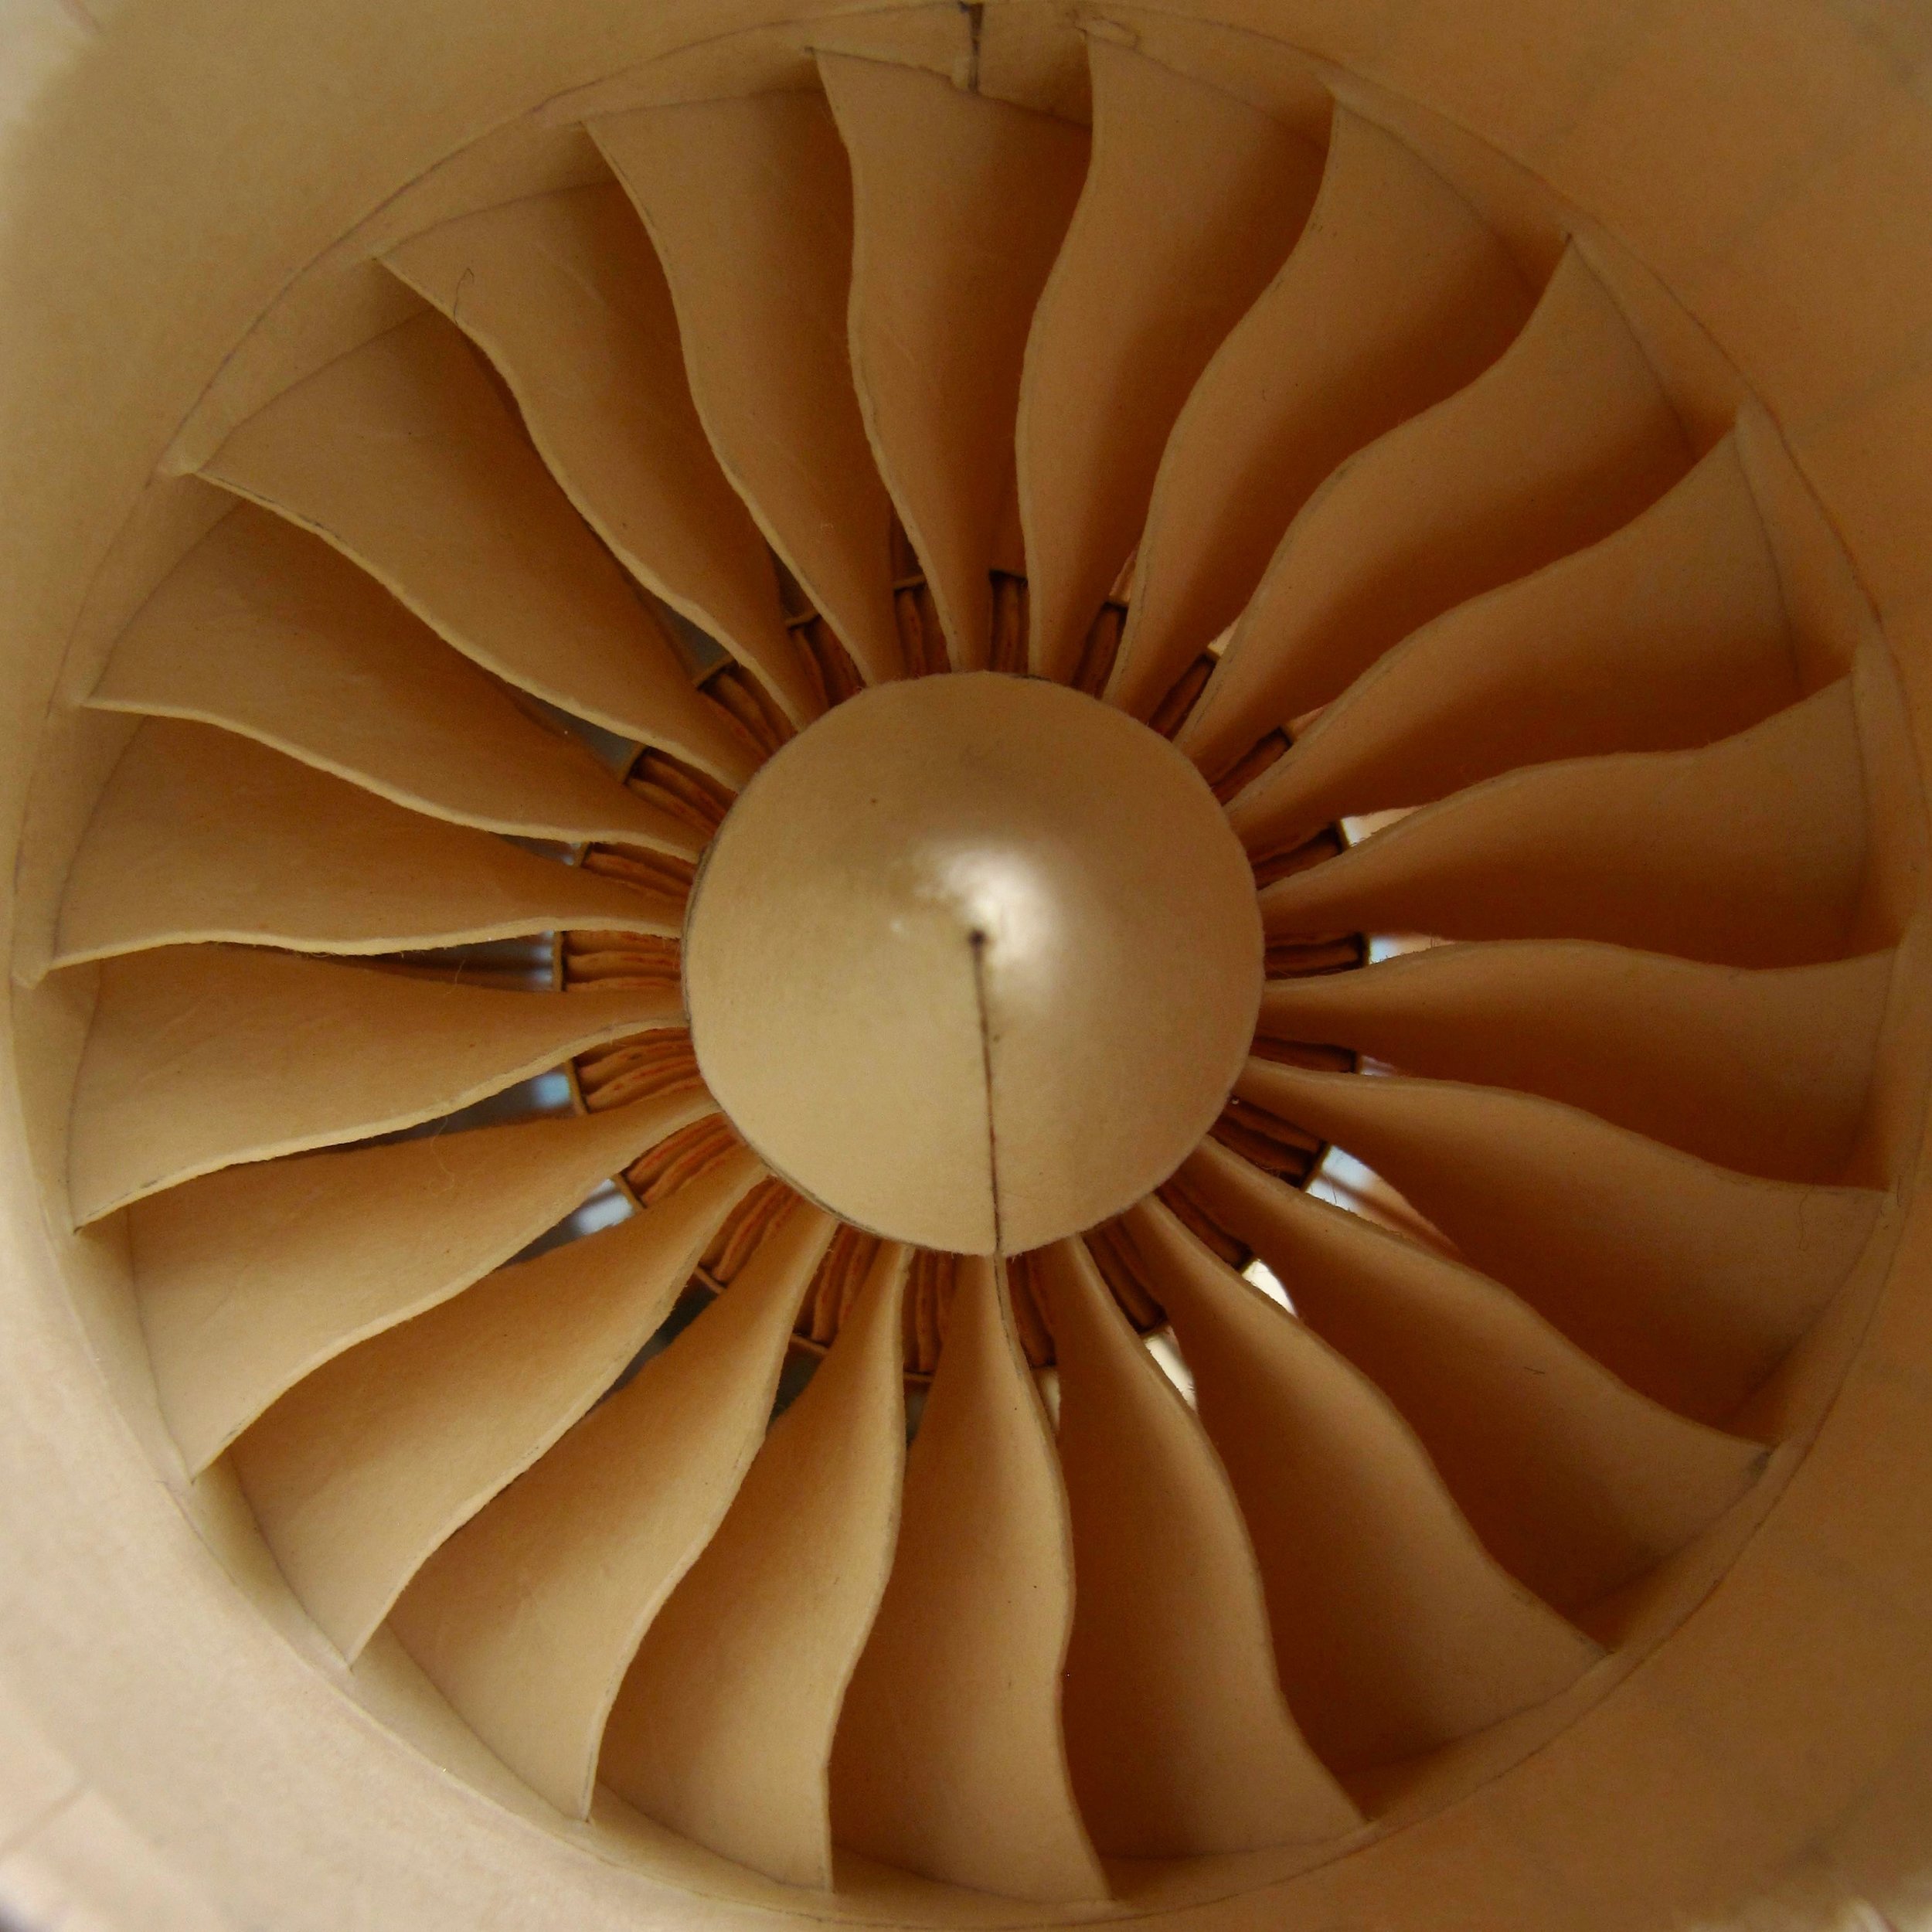
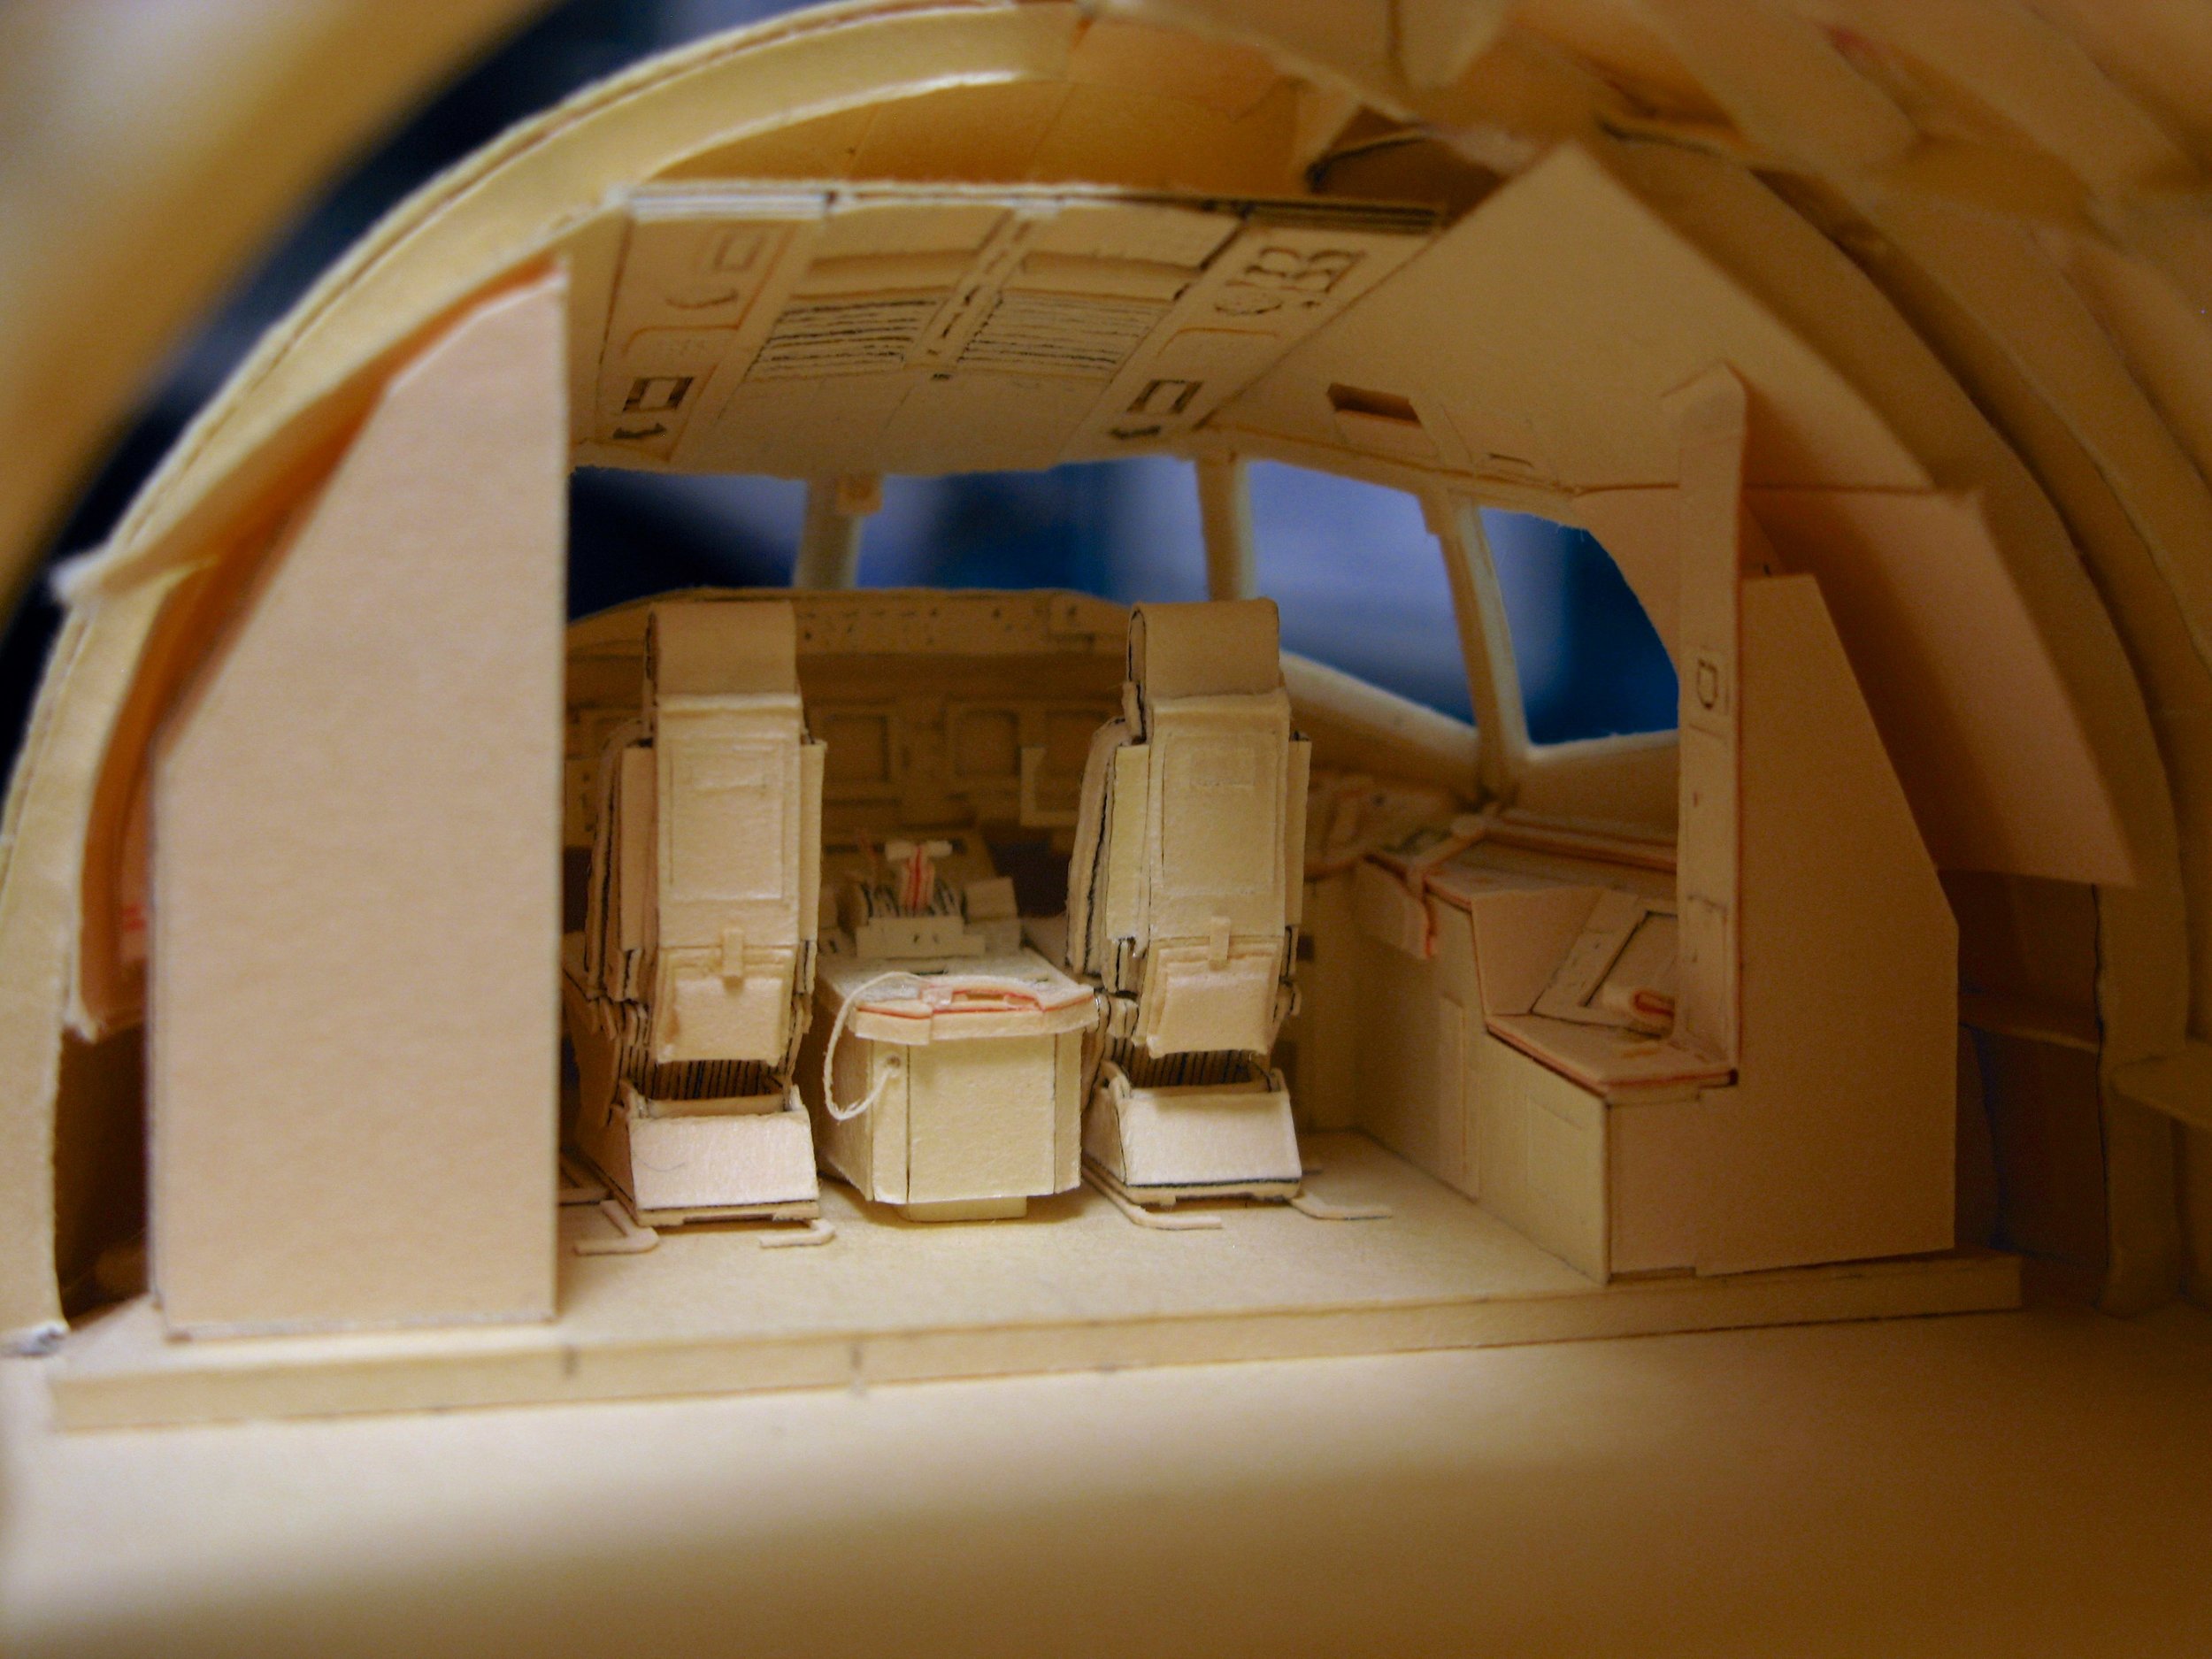
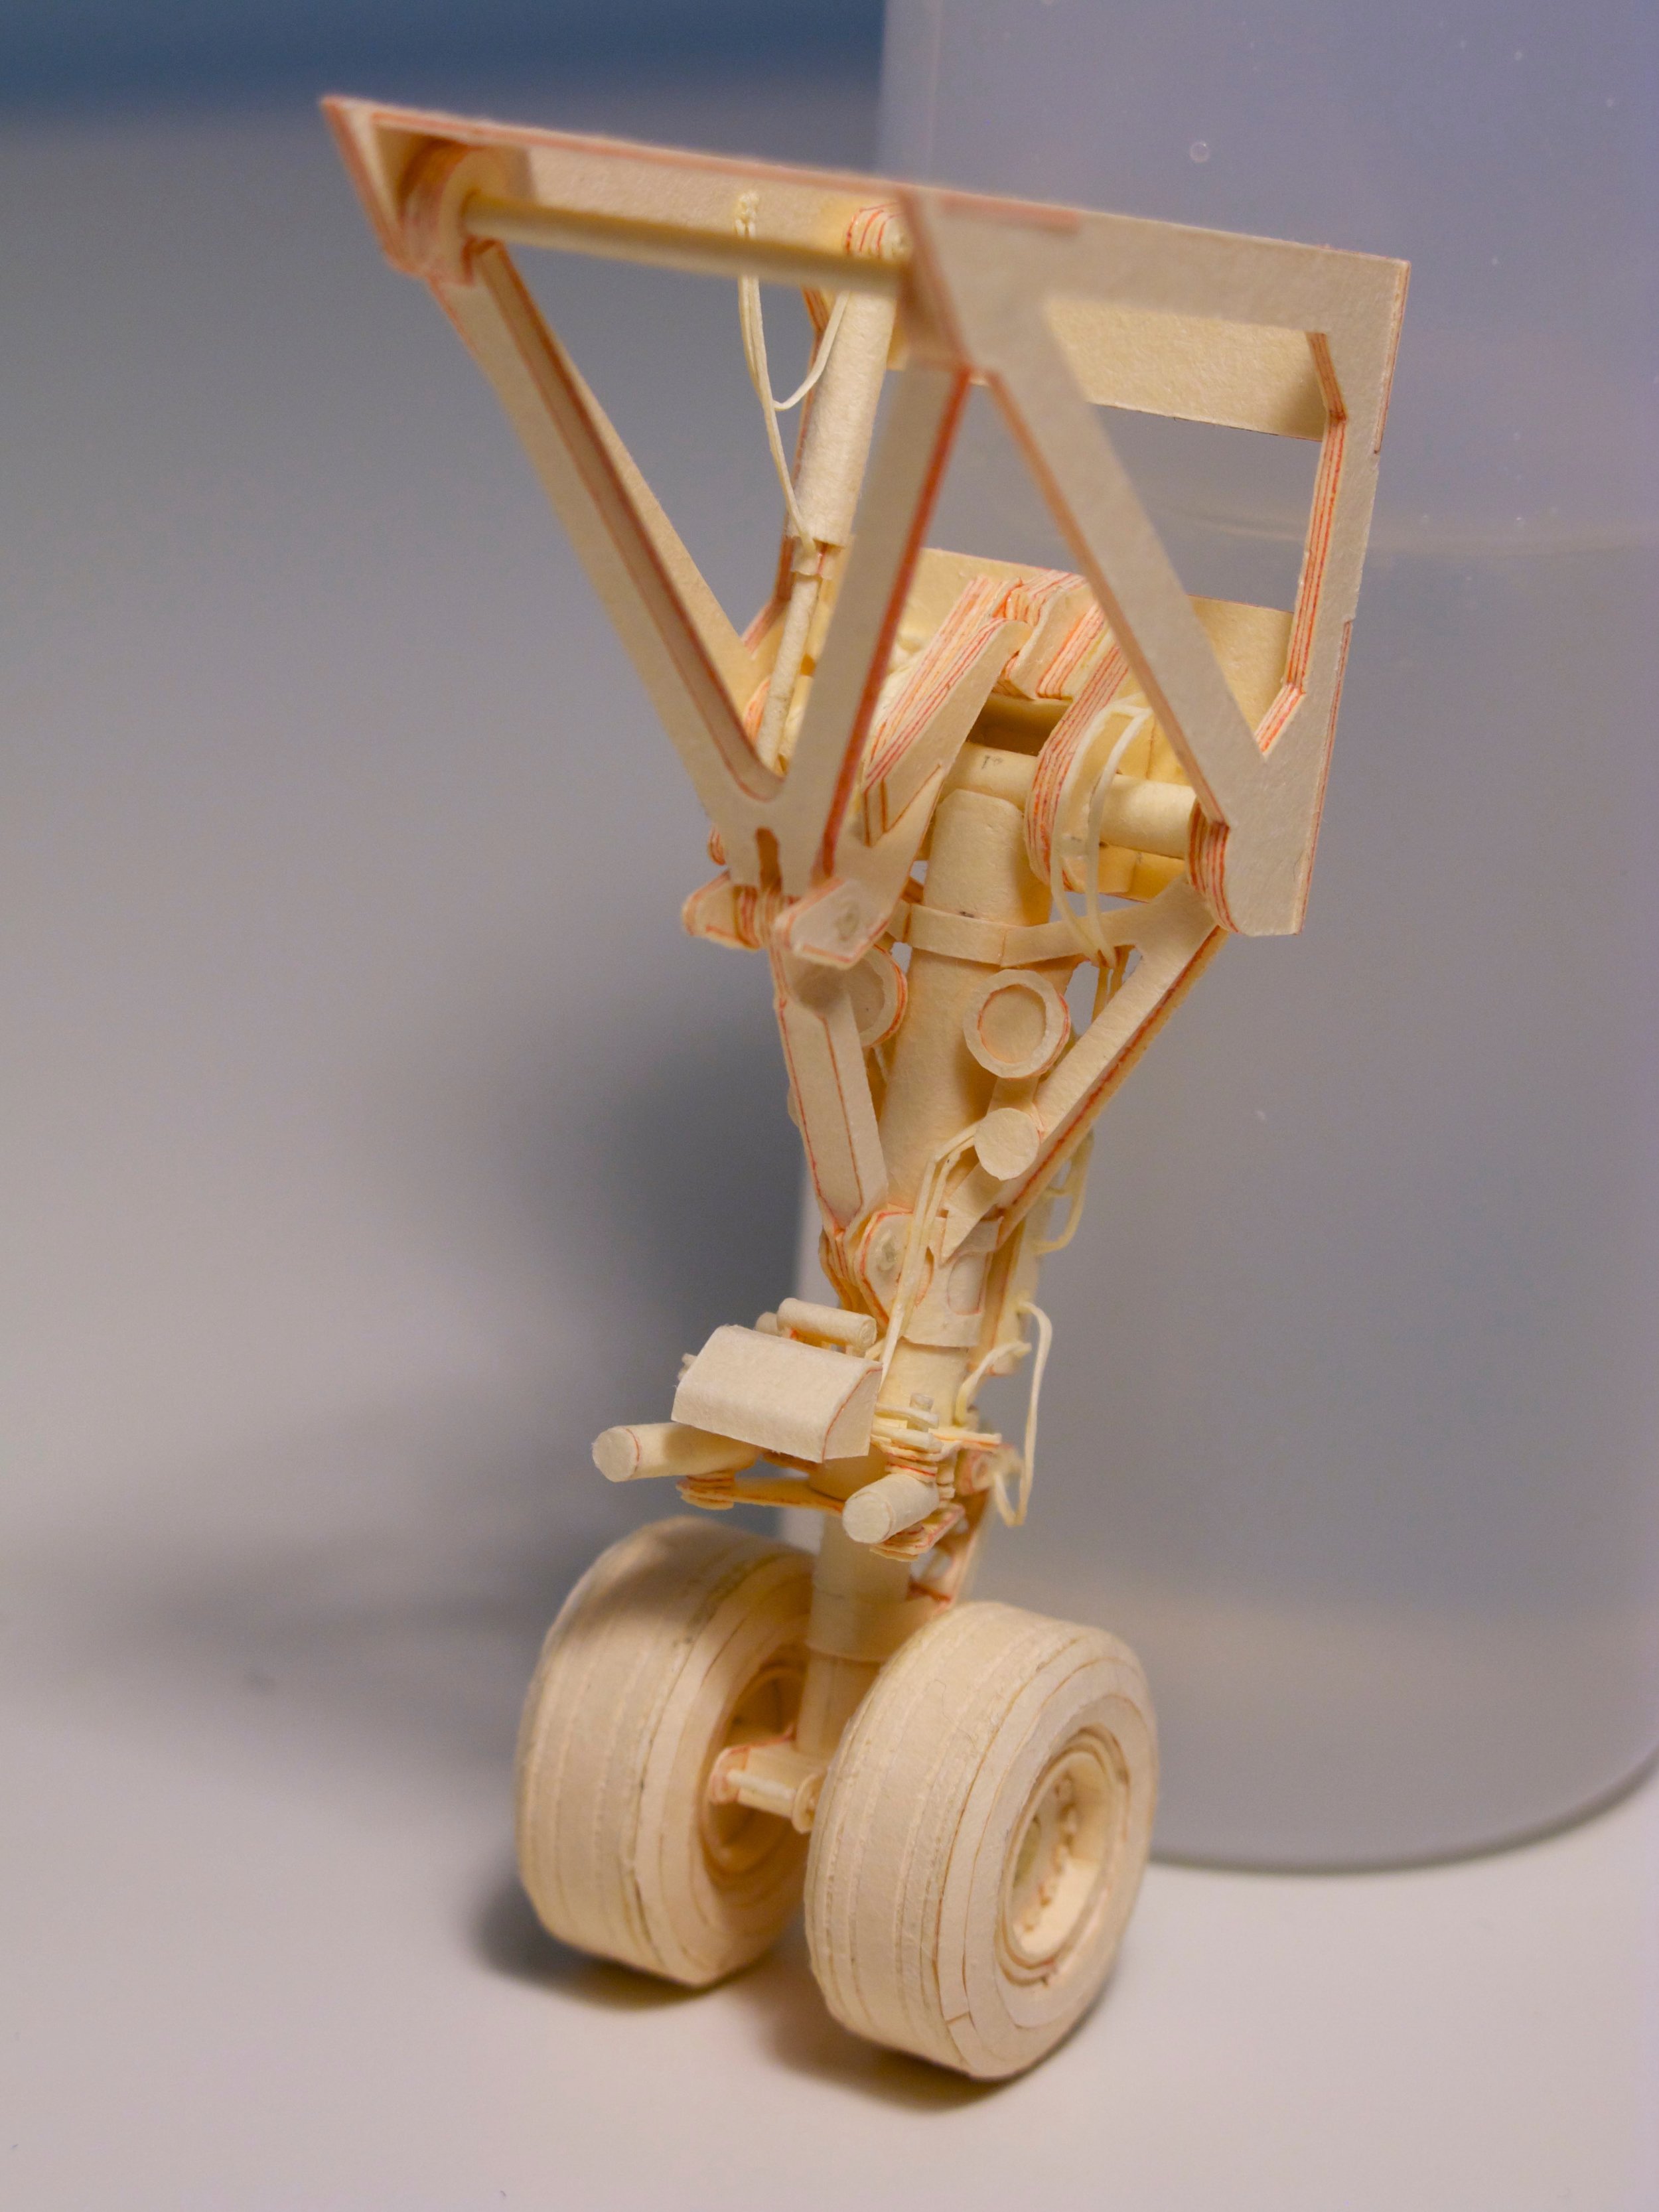
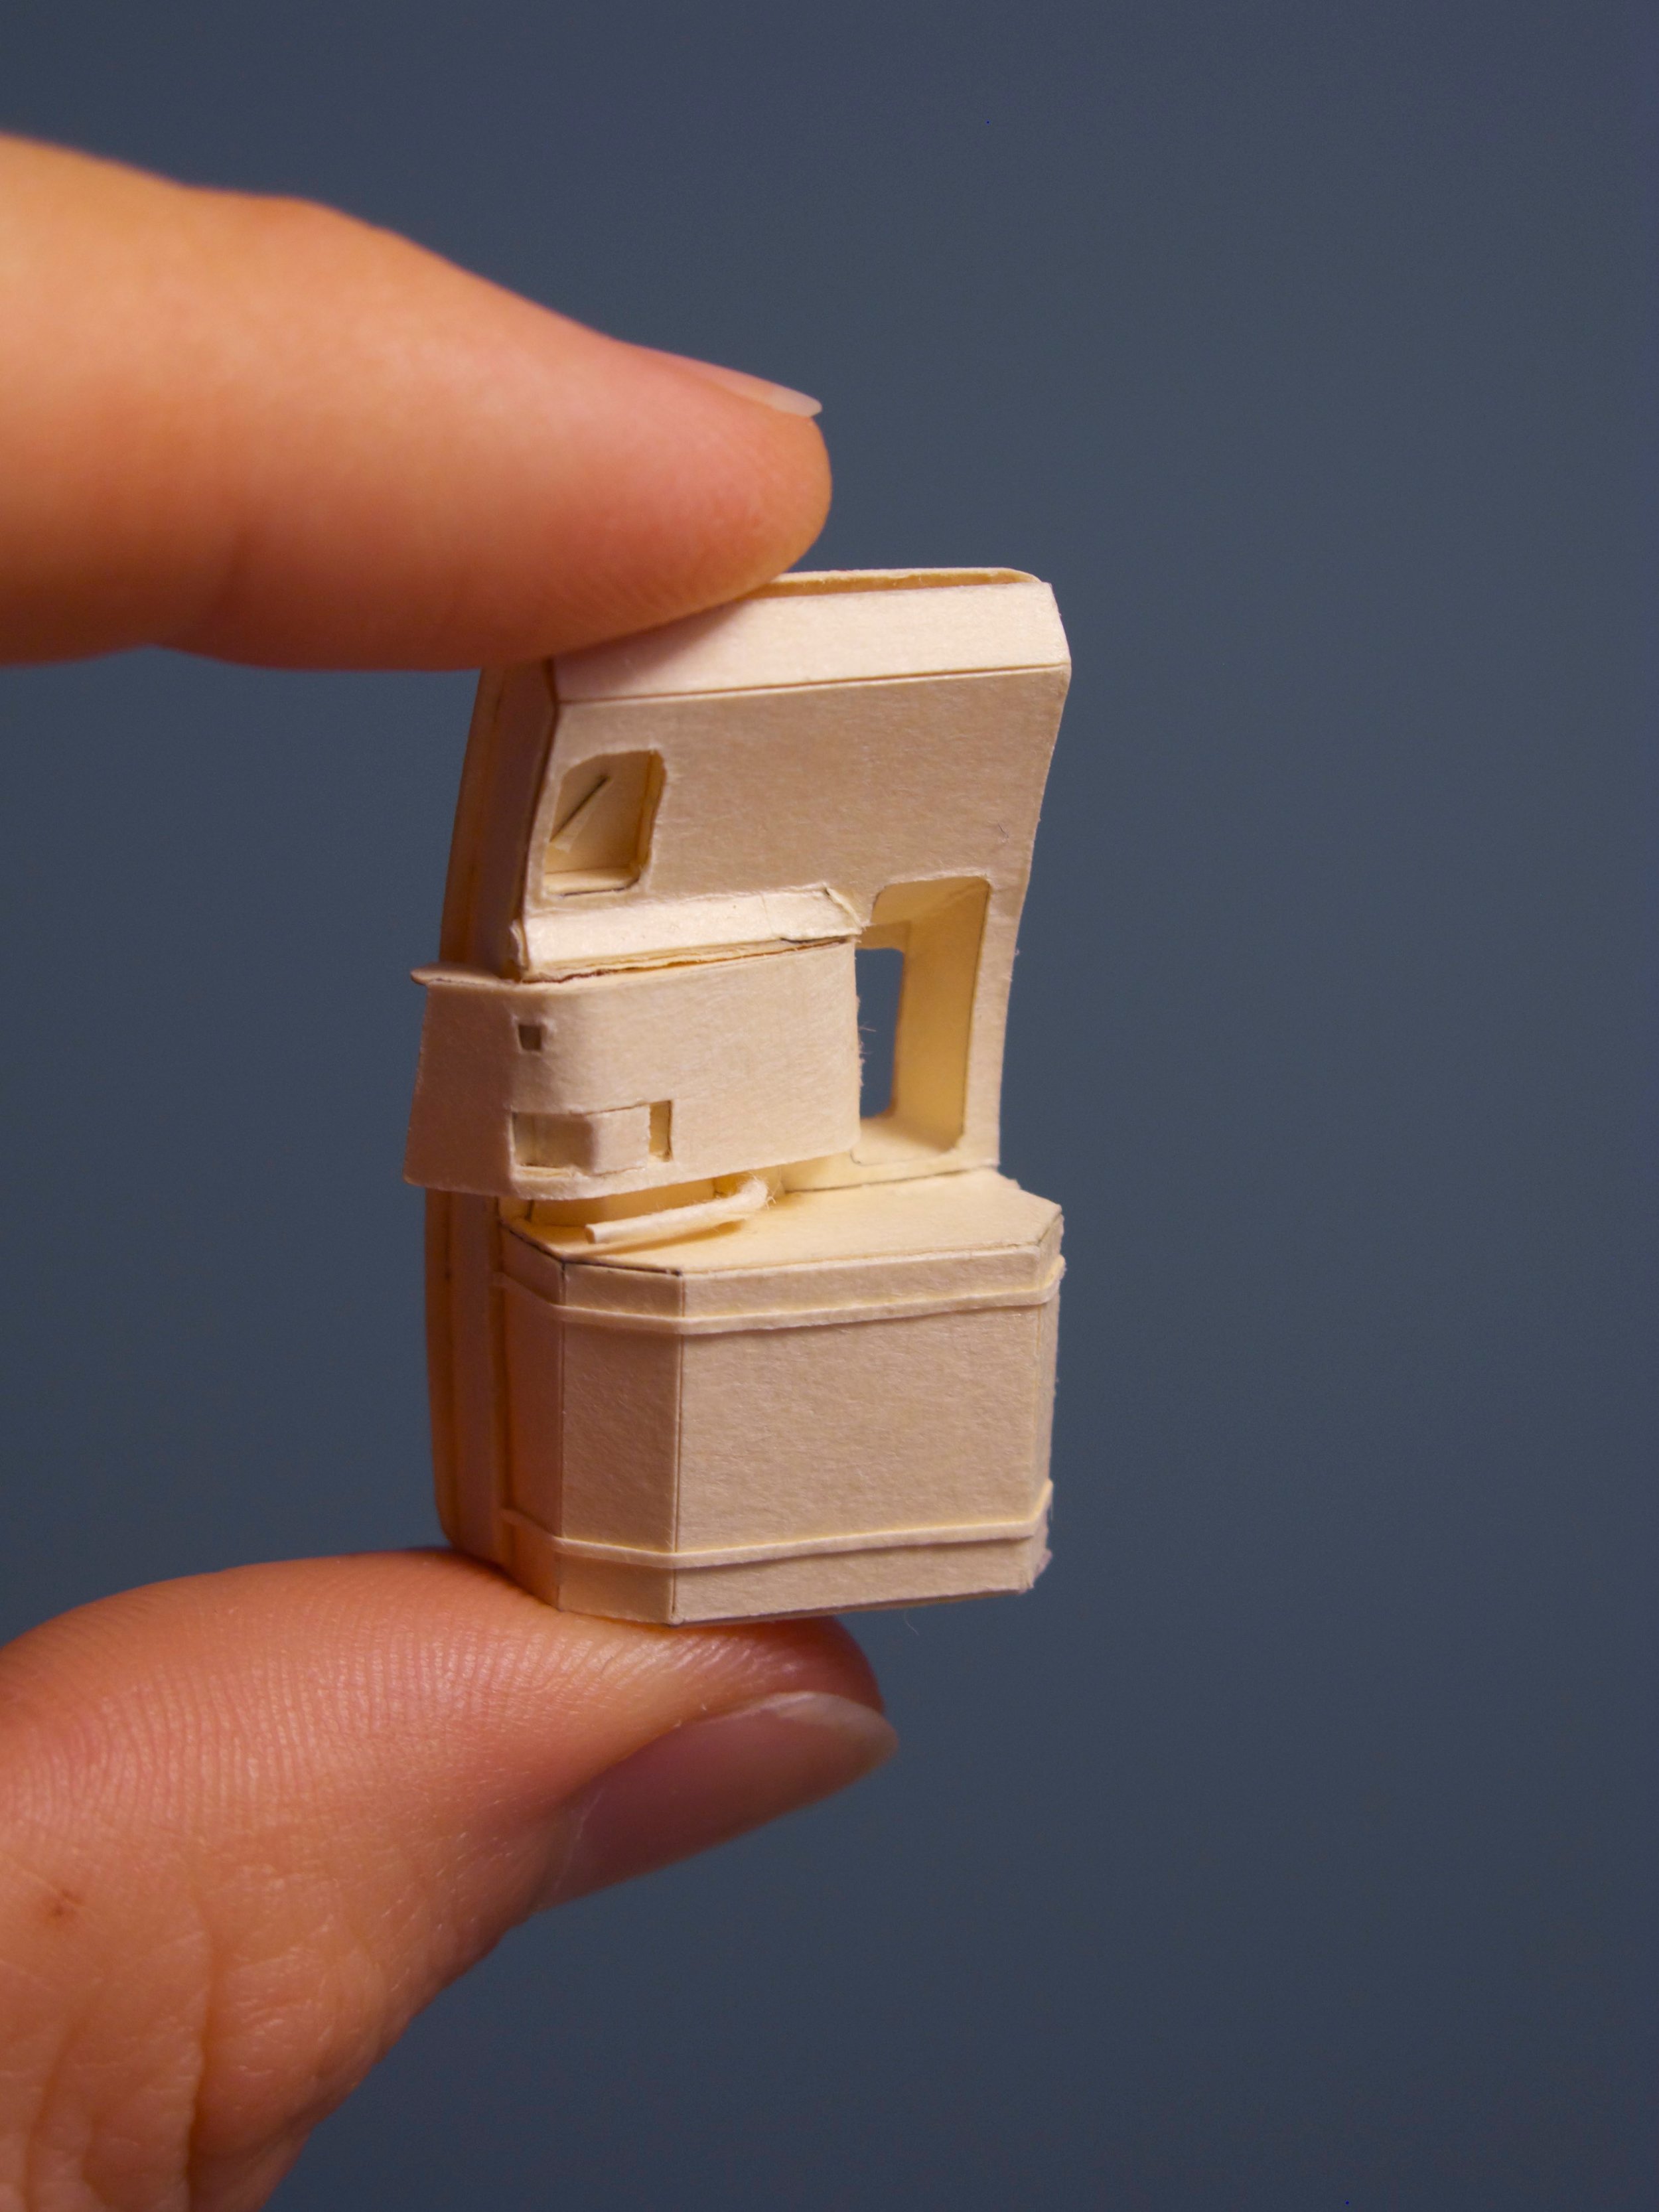
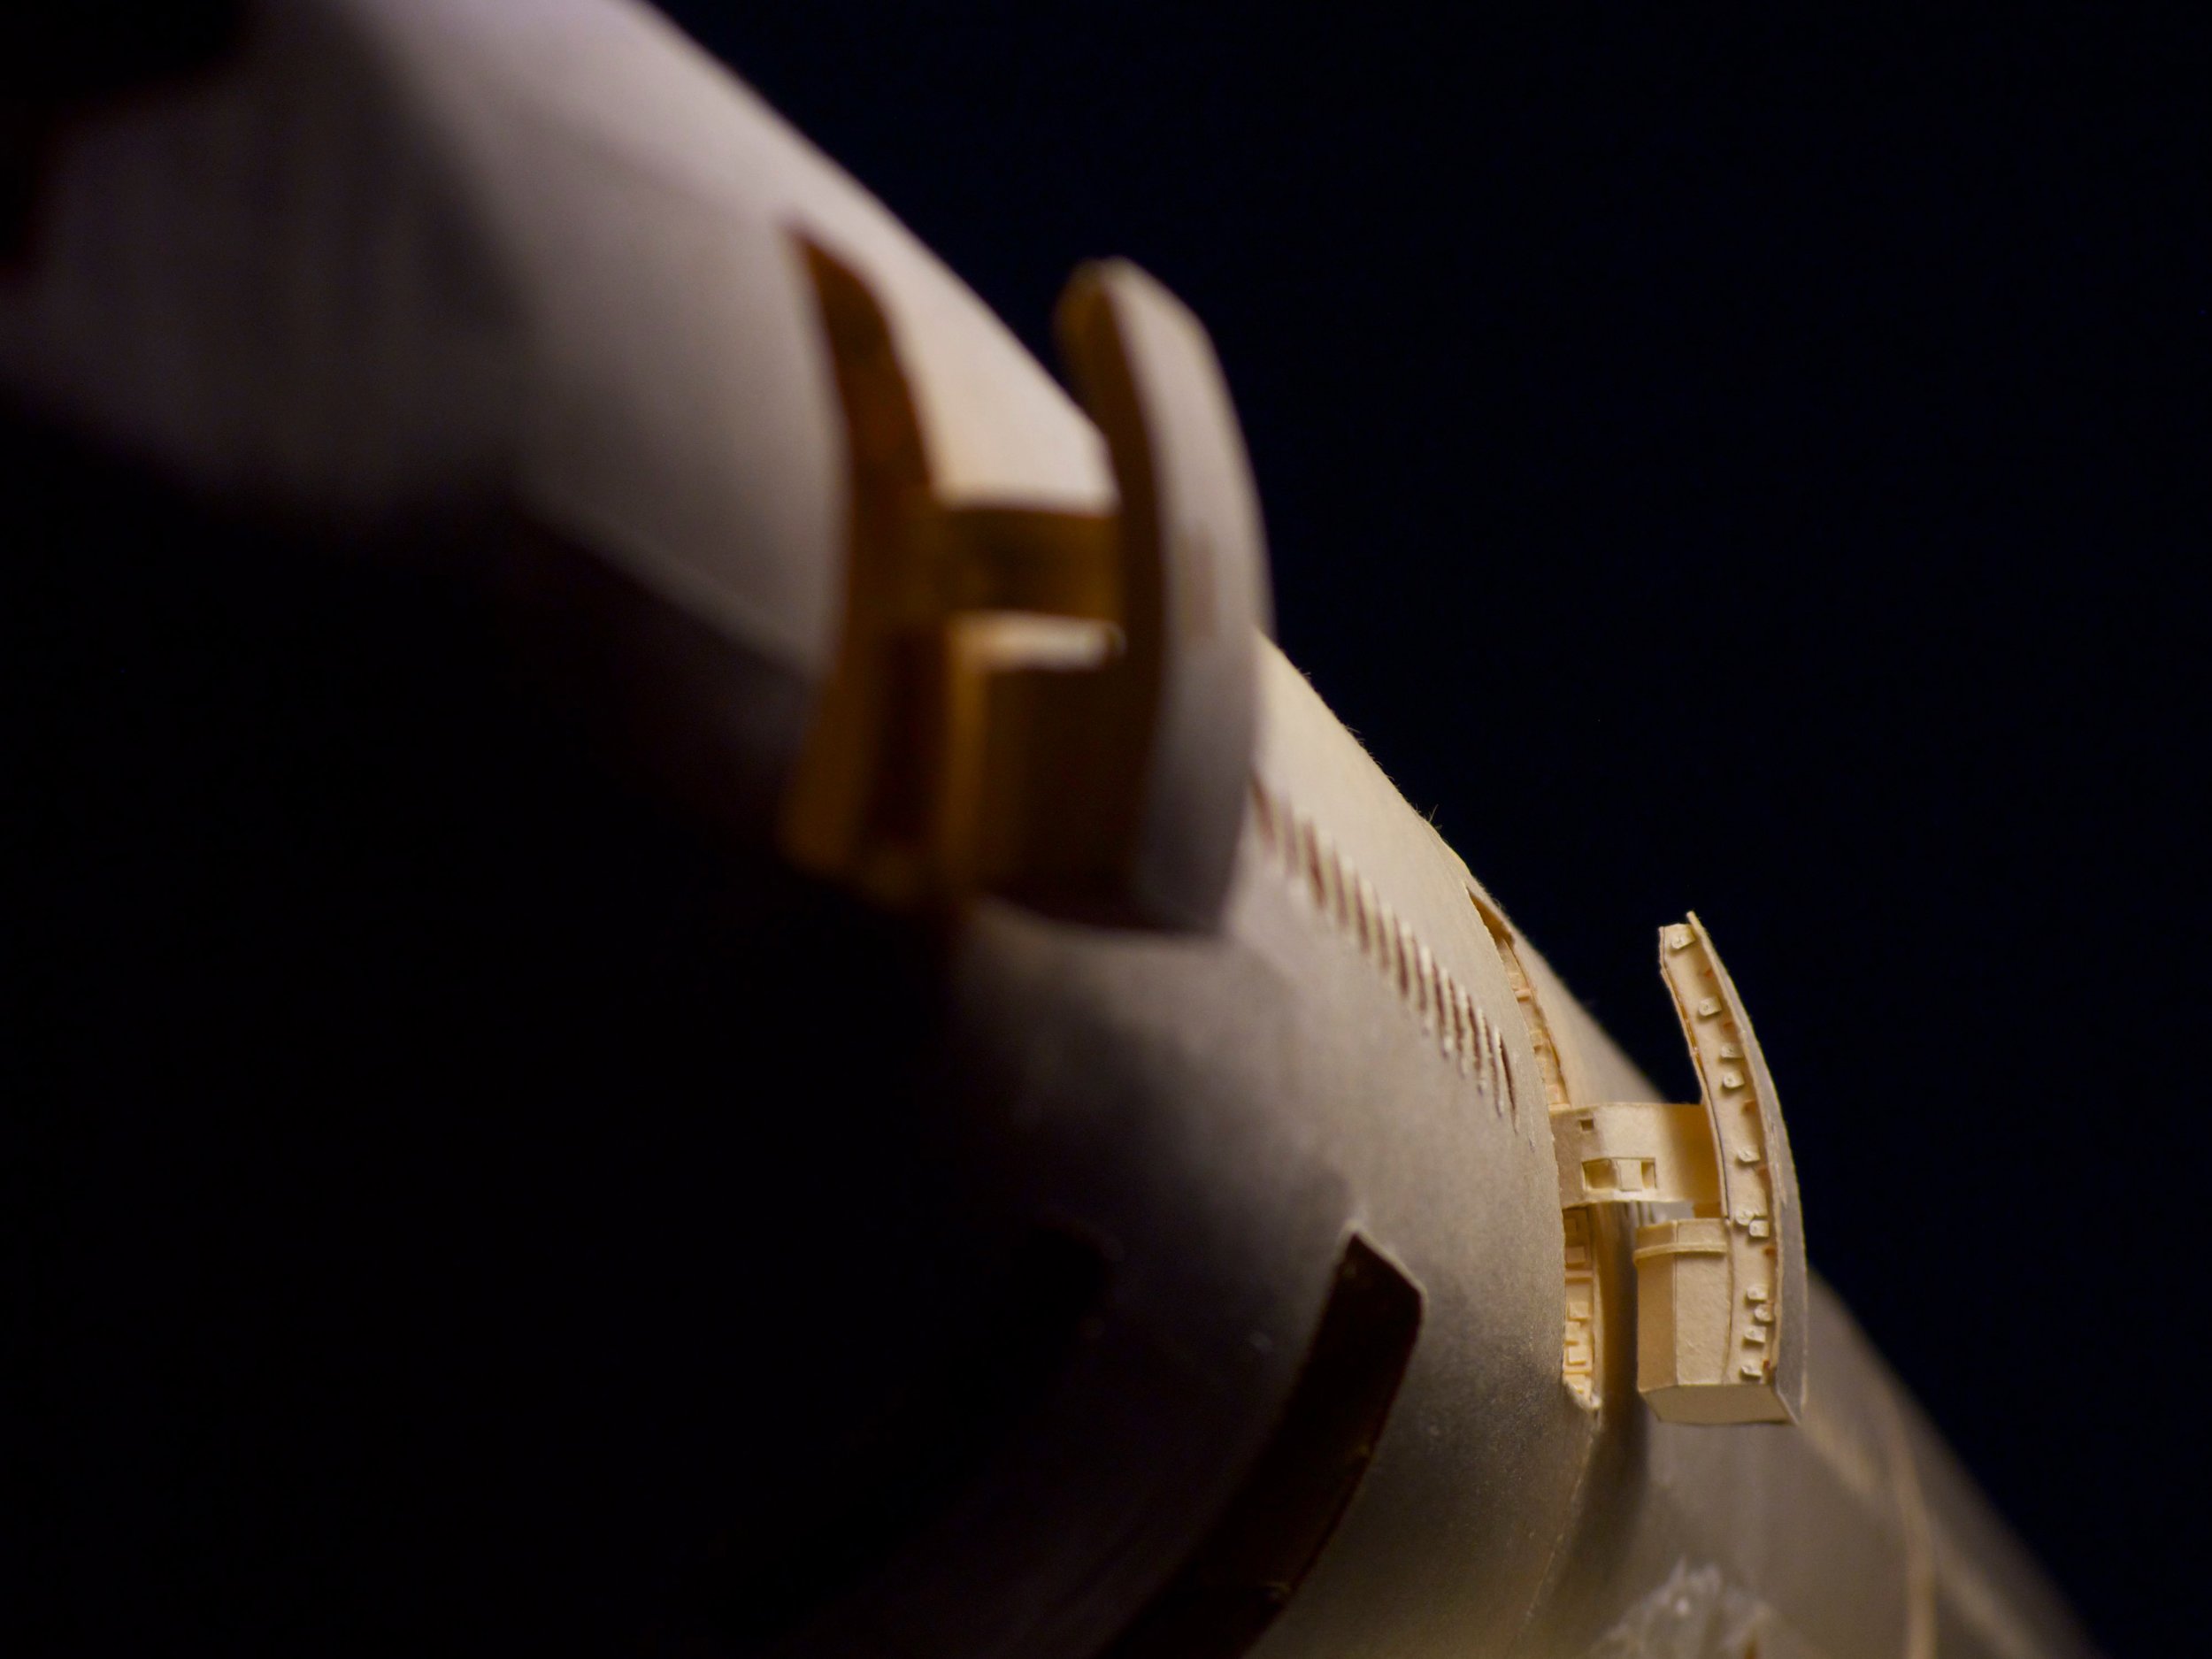
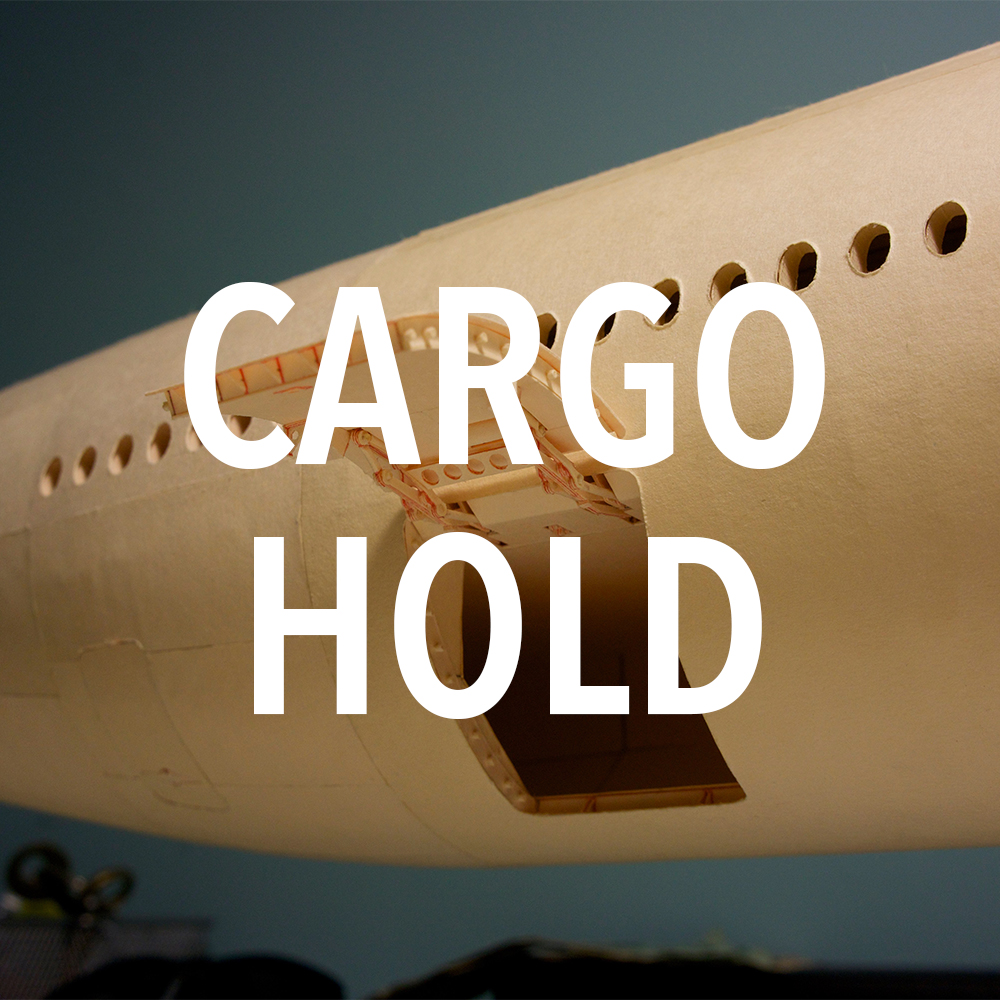
1:60 SCALE MODEL OF AN AIR INDIA BOEING 777-300ER, MADE ENTIRELY FROM MANILA FOLDERS
This project traces its beginnings to an architecture class in high school where we learned to use manila file folders to roughly model our building ideas. The more I worked with paper, the more I fell in love with its versatility. At some point, I got the idea to make a model of an airplane as a way of challenging myself with an unconventional shape.
Though the project began on a much smaller and simpler scale in mid-2008, it has since evolved through multiple revisions to become a highly detailed, true-to-life representation of a Boeing 777. I originally drew my plans by hand, but my desire to increase the accuracy and amount of detail led me to start using Adobe Illustrator to design and print increasingly intricate parts directly onto the folder.
The project has been in progress since May 2008
HOW THE *#%! DO I DO IT?
RESEARCH
I start with as much source material as I can. Often that means photos and videos found on the web, but sometimes I’m lucky enough to get my hands on technical drawings as well. I study these materials to form an understanding of the intrinsic shape and function of the particular section I’m working on. Once I feel confident in my basic understanding of the part, I can begin the design process.
DESIGN
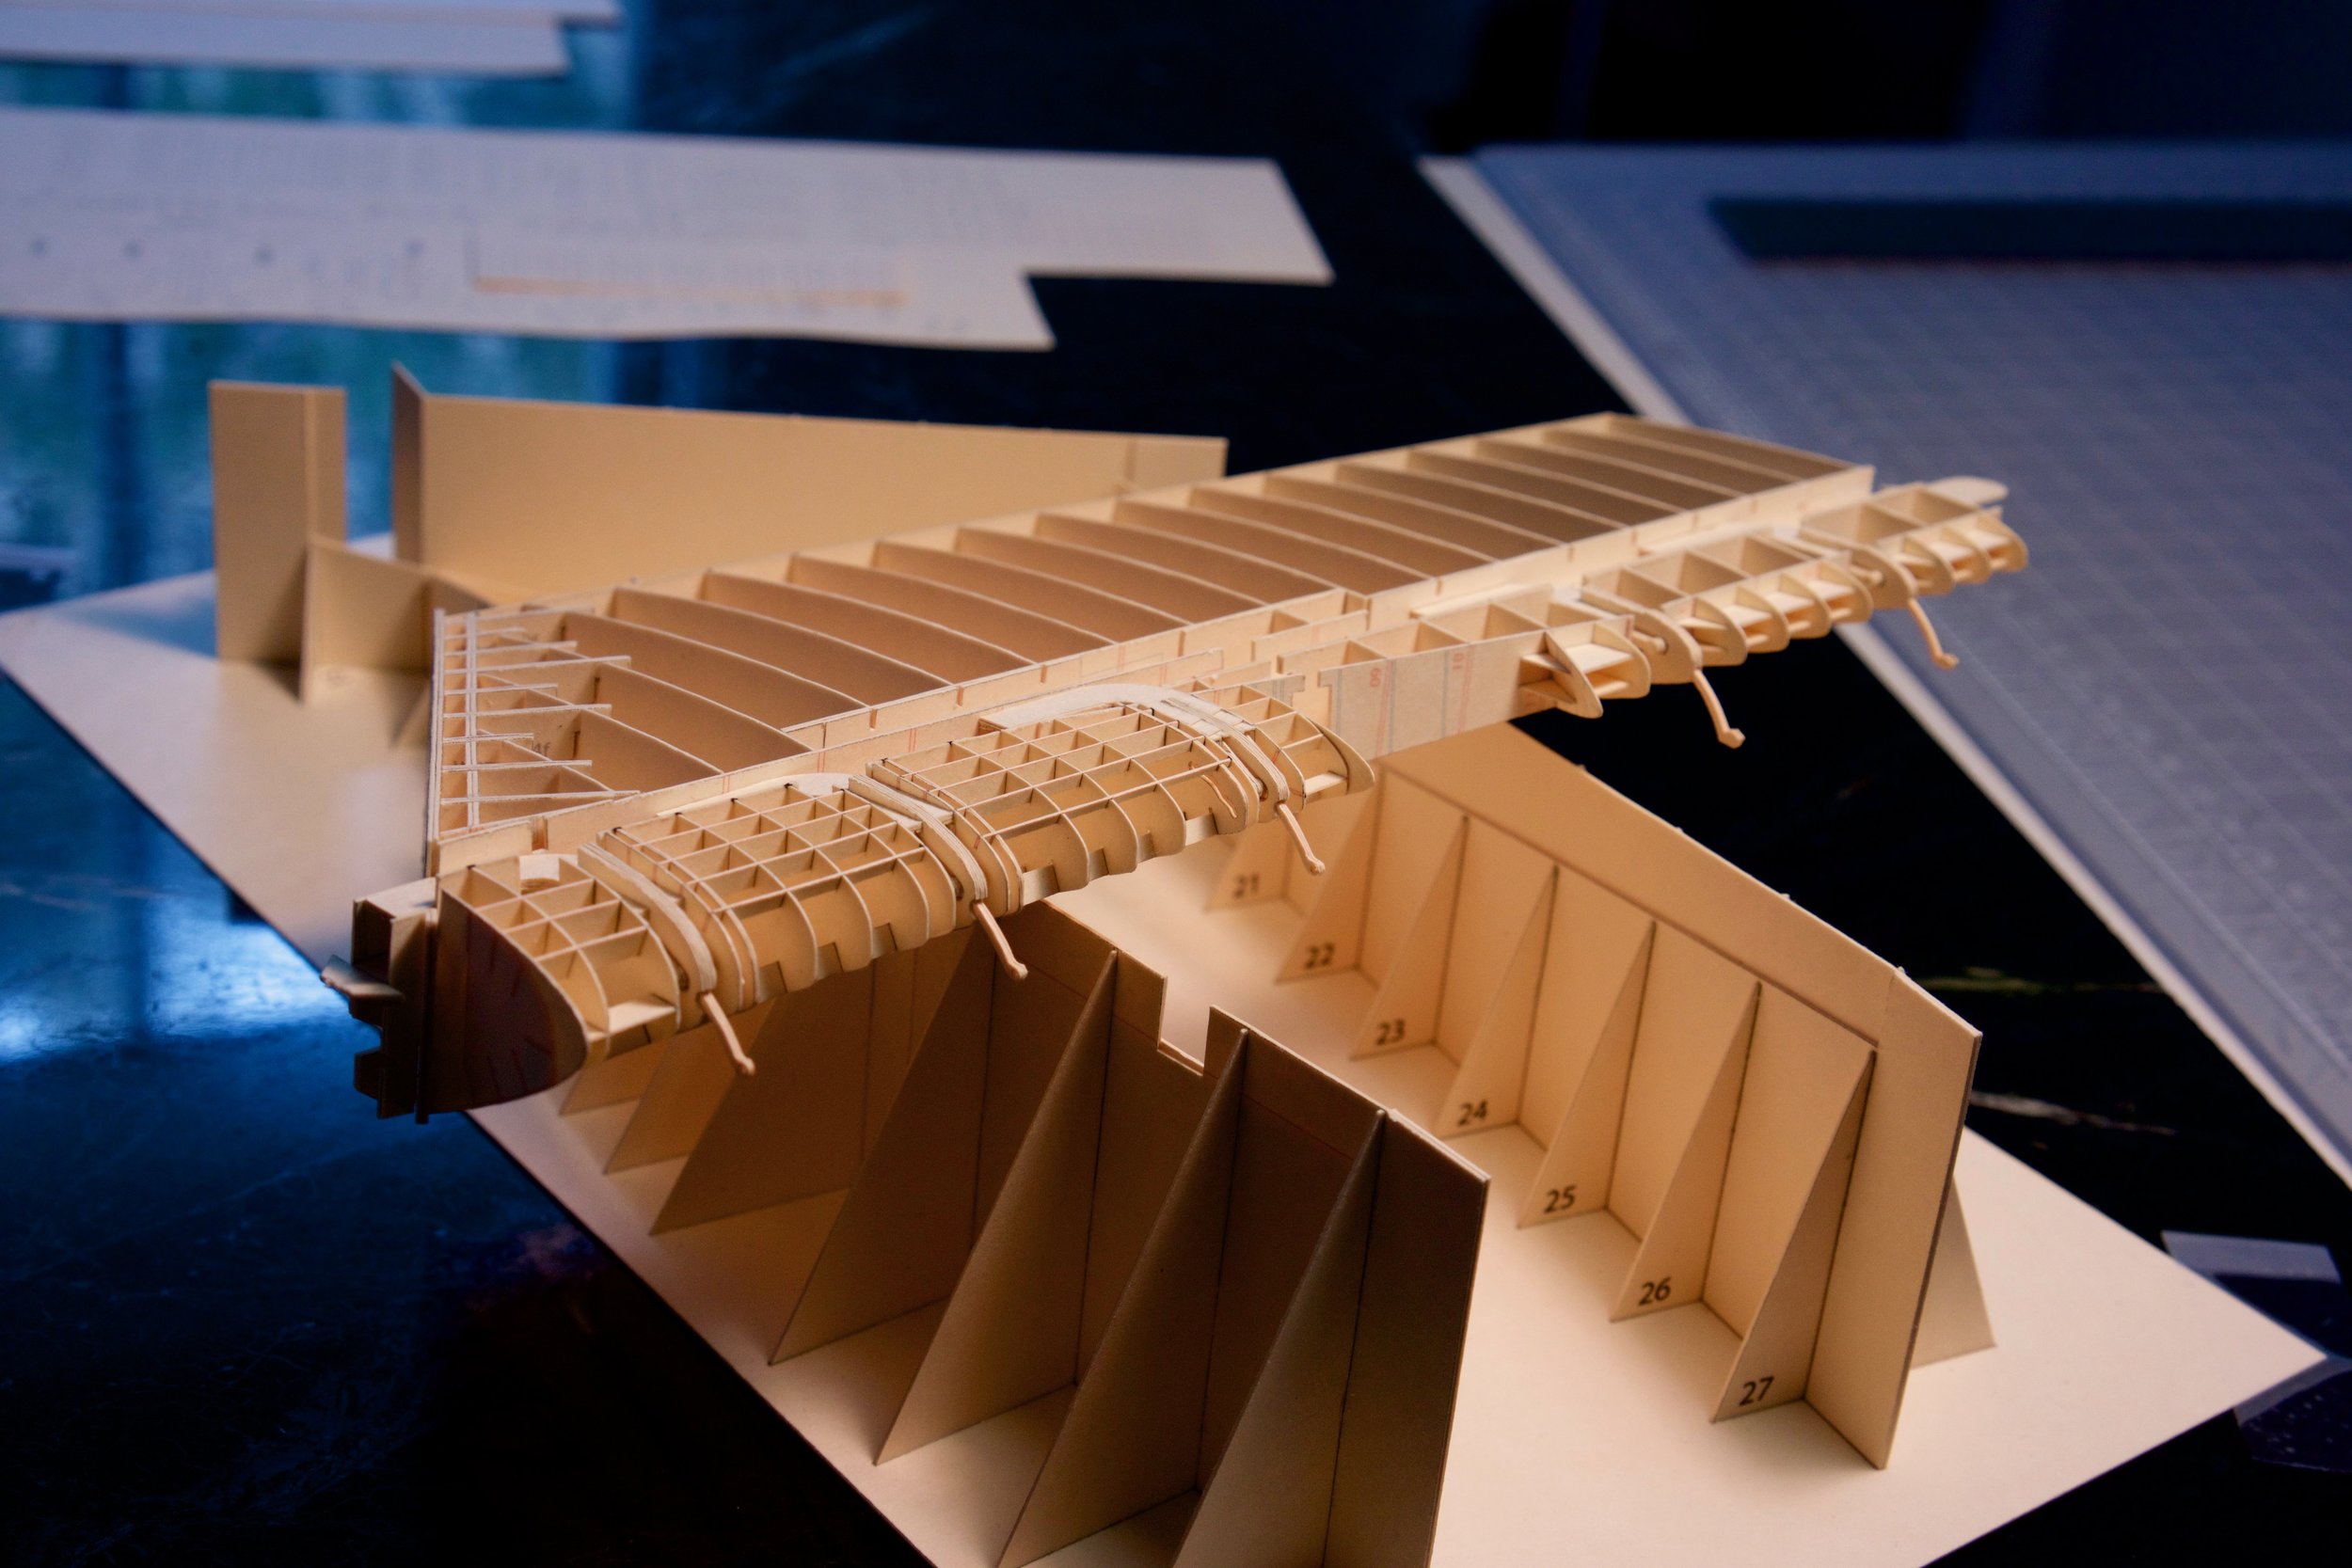
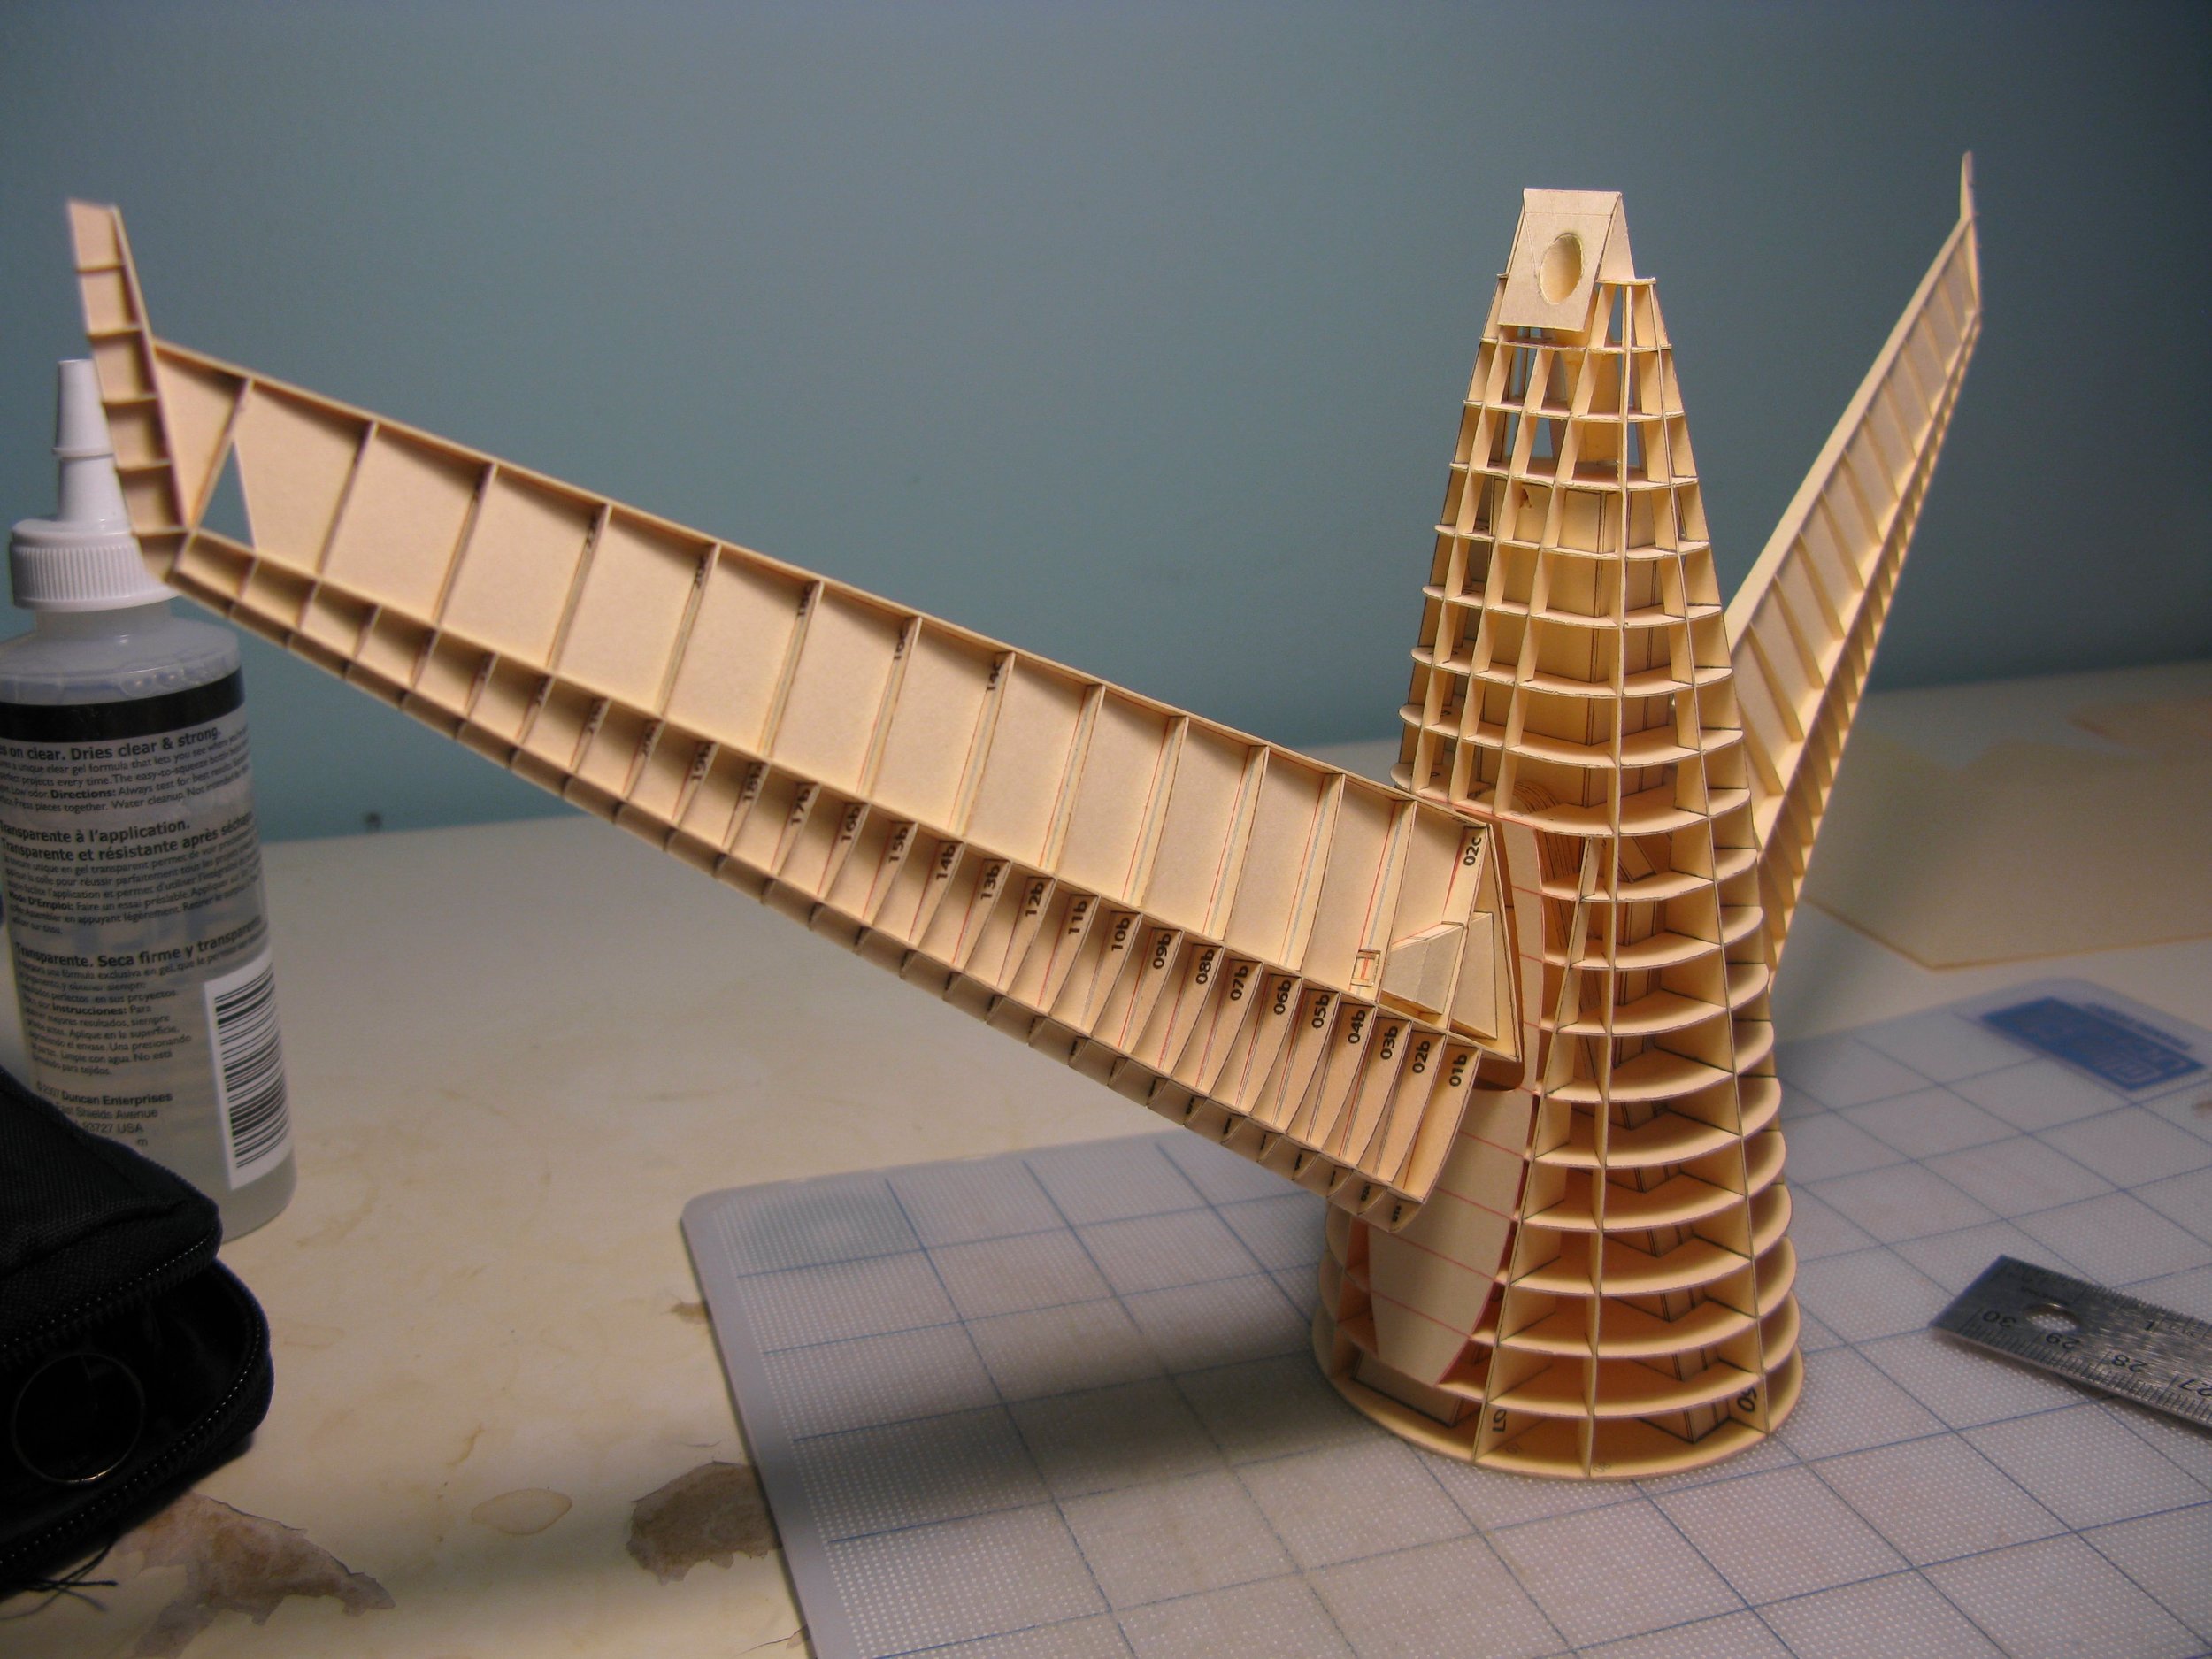
Much of my work consists of figuring out how to flatten 3-D shapes into 2-D slices that can be printed onto paper and assembled. I work in Adobe Illustrator to create 2-D plans for all the parts of which the final product will be comprised. I typically start the process by working out the general shape and dimensions of the piece, then I drill down, adding more detail and functionality. Once the design has been “frozen,” I work to break it down into individual pieces and arrange them for printing. Often, if a piece is complex and I’m unsure of how well it will function in reality, I build a small test section to verify my designs.
PRINTING & ASSEMBLY
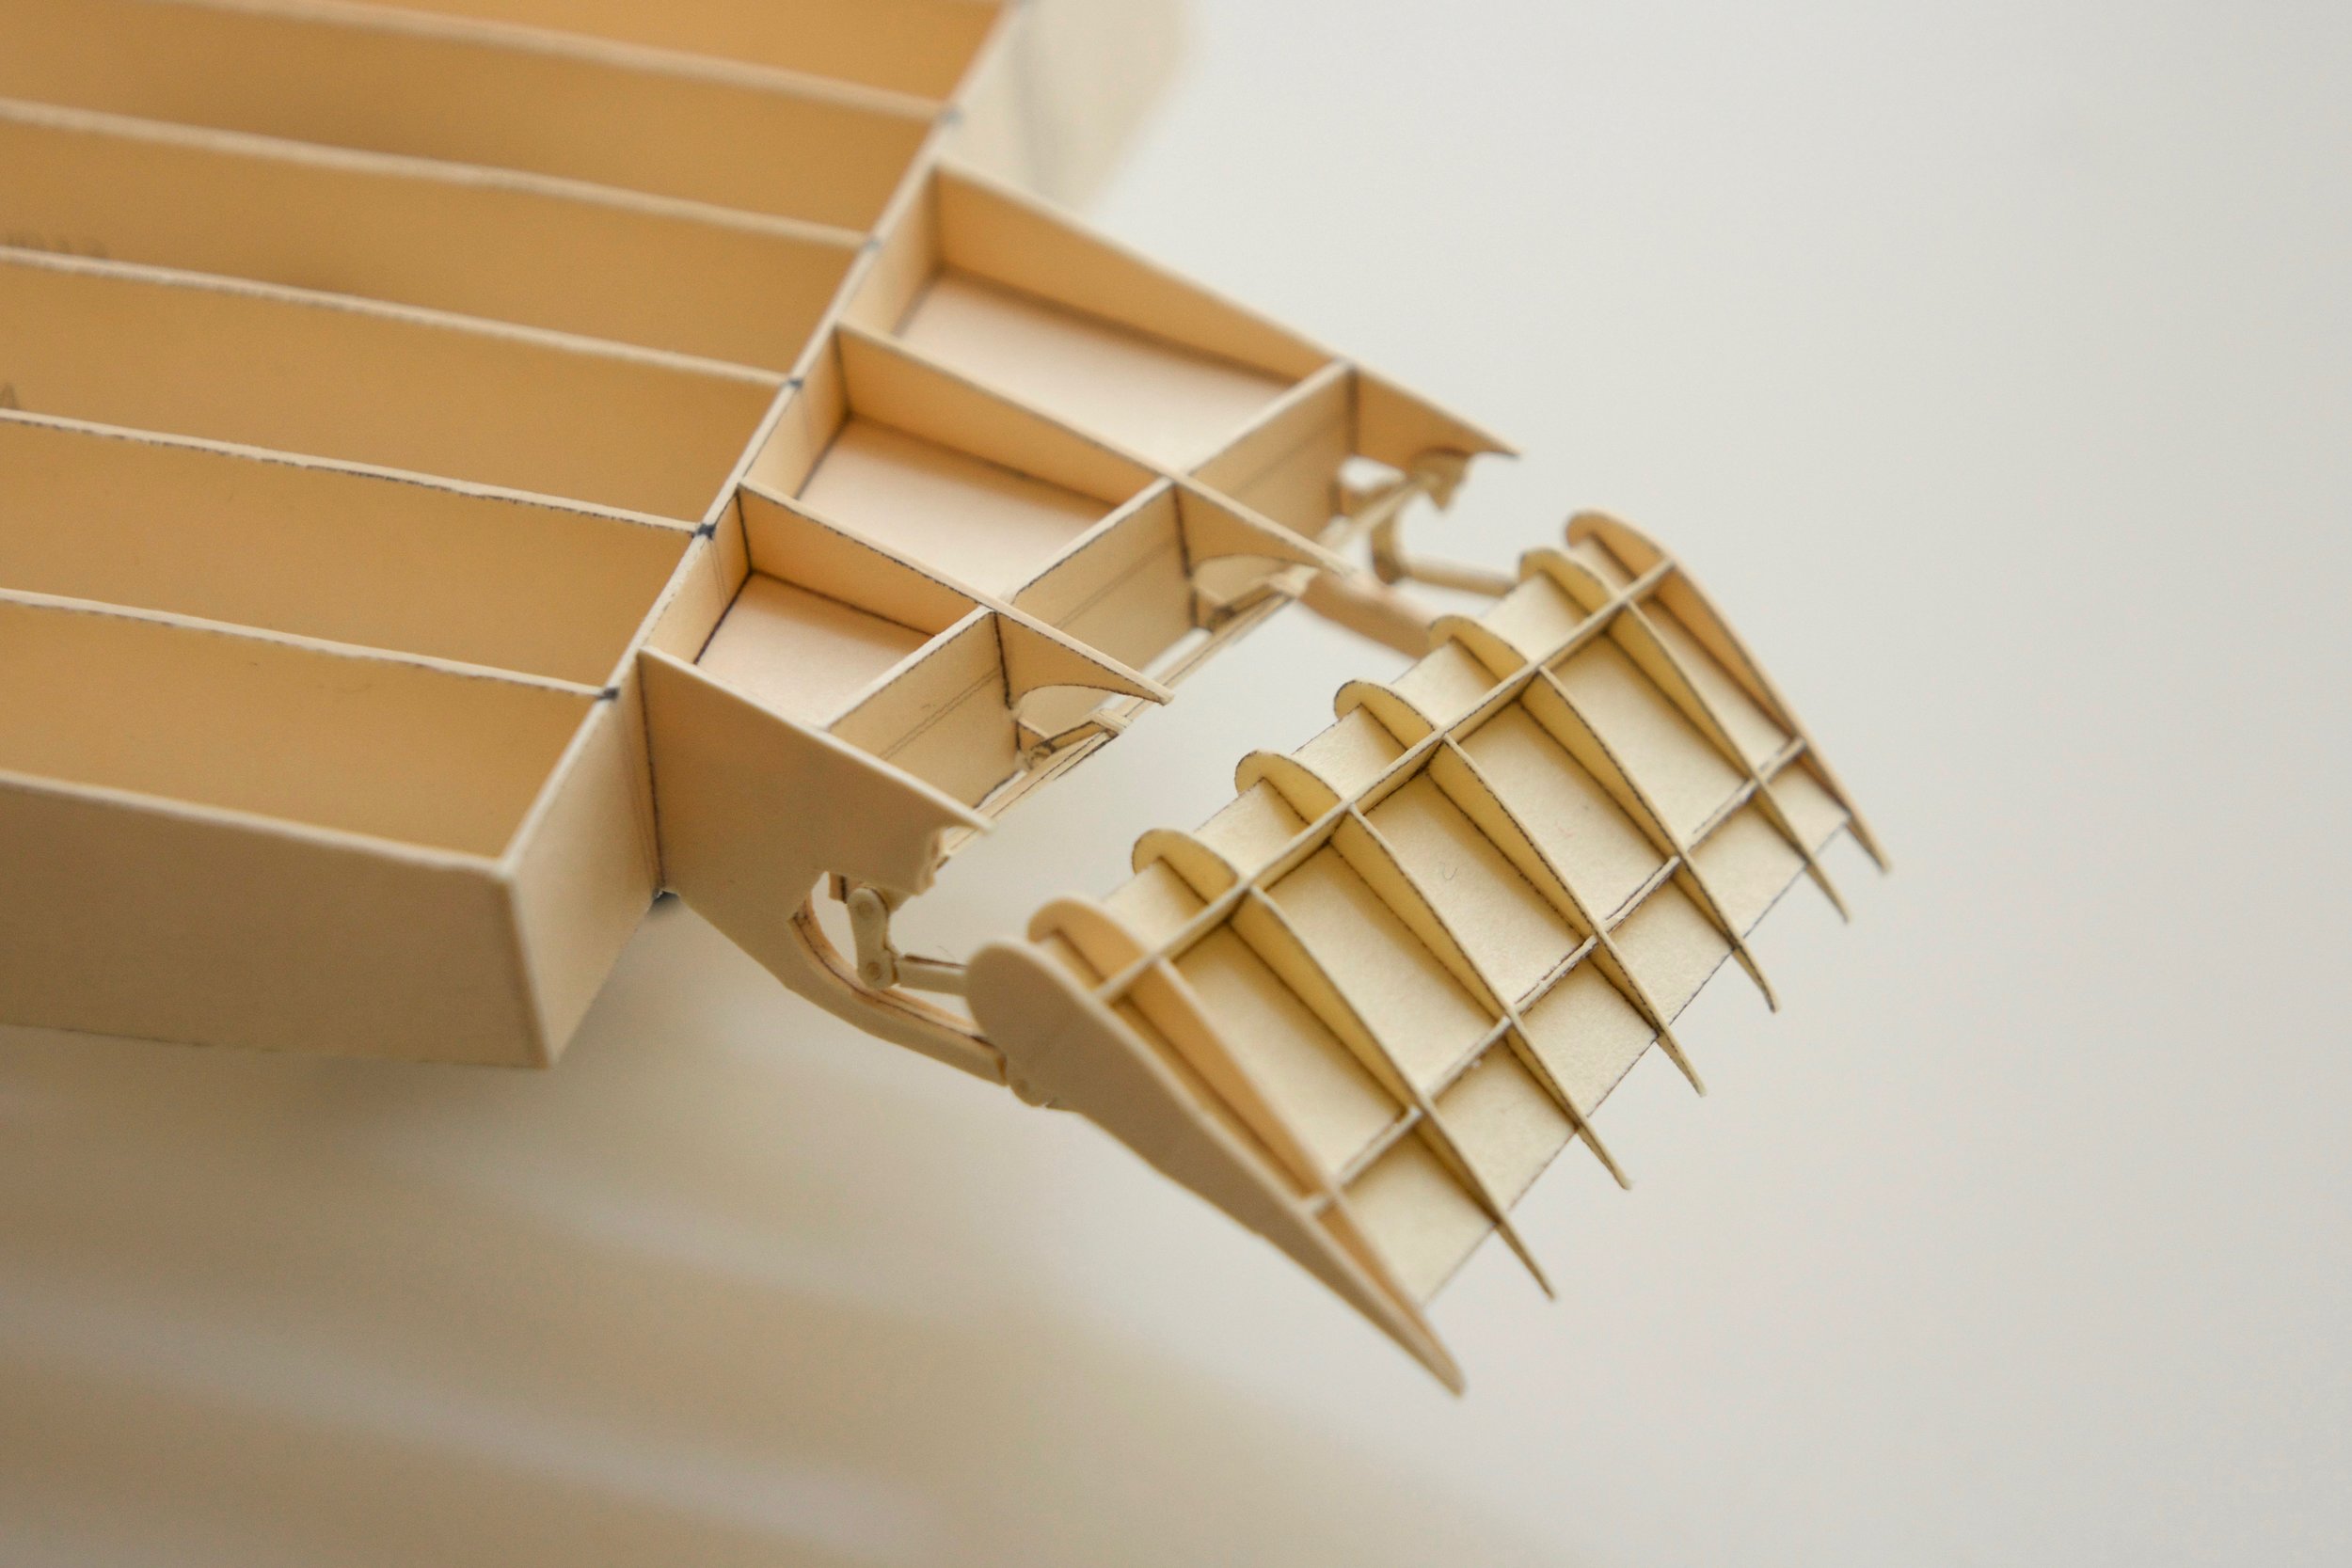
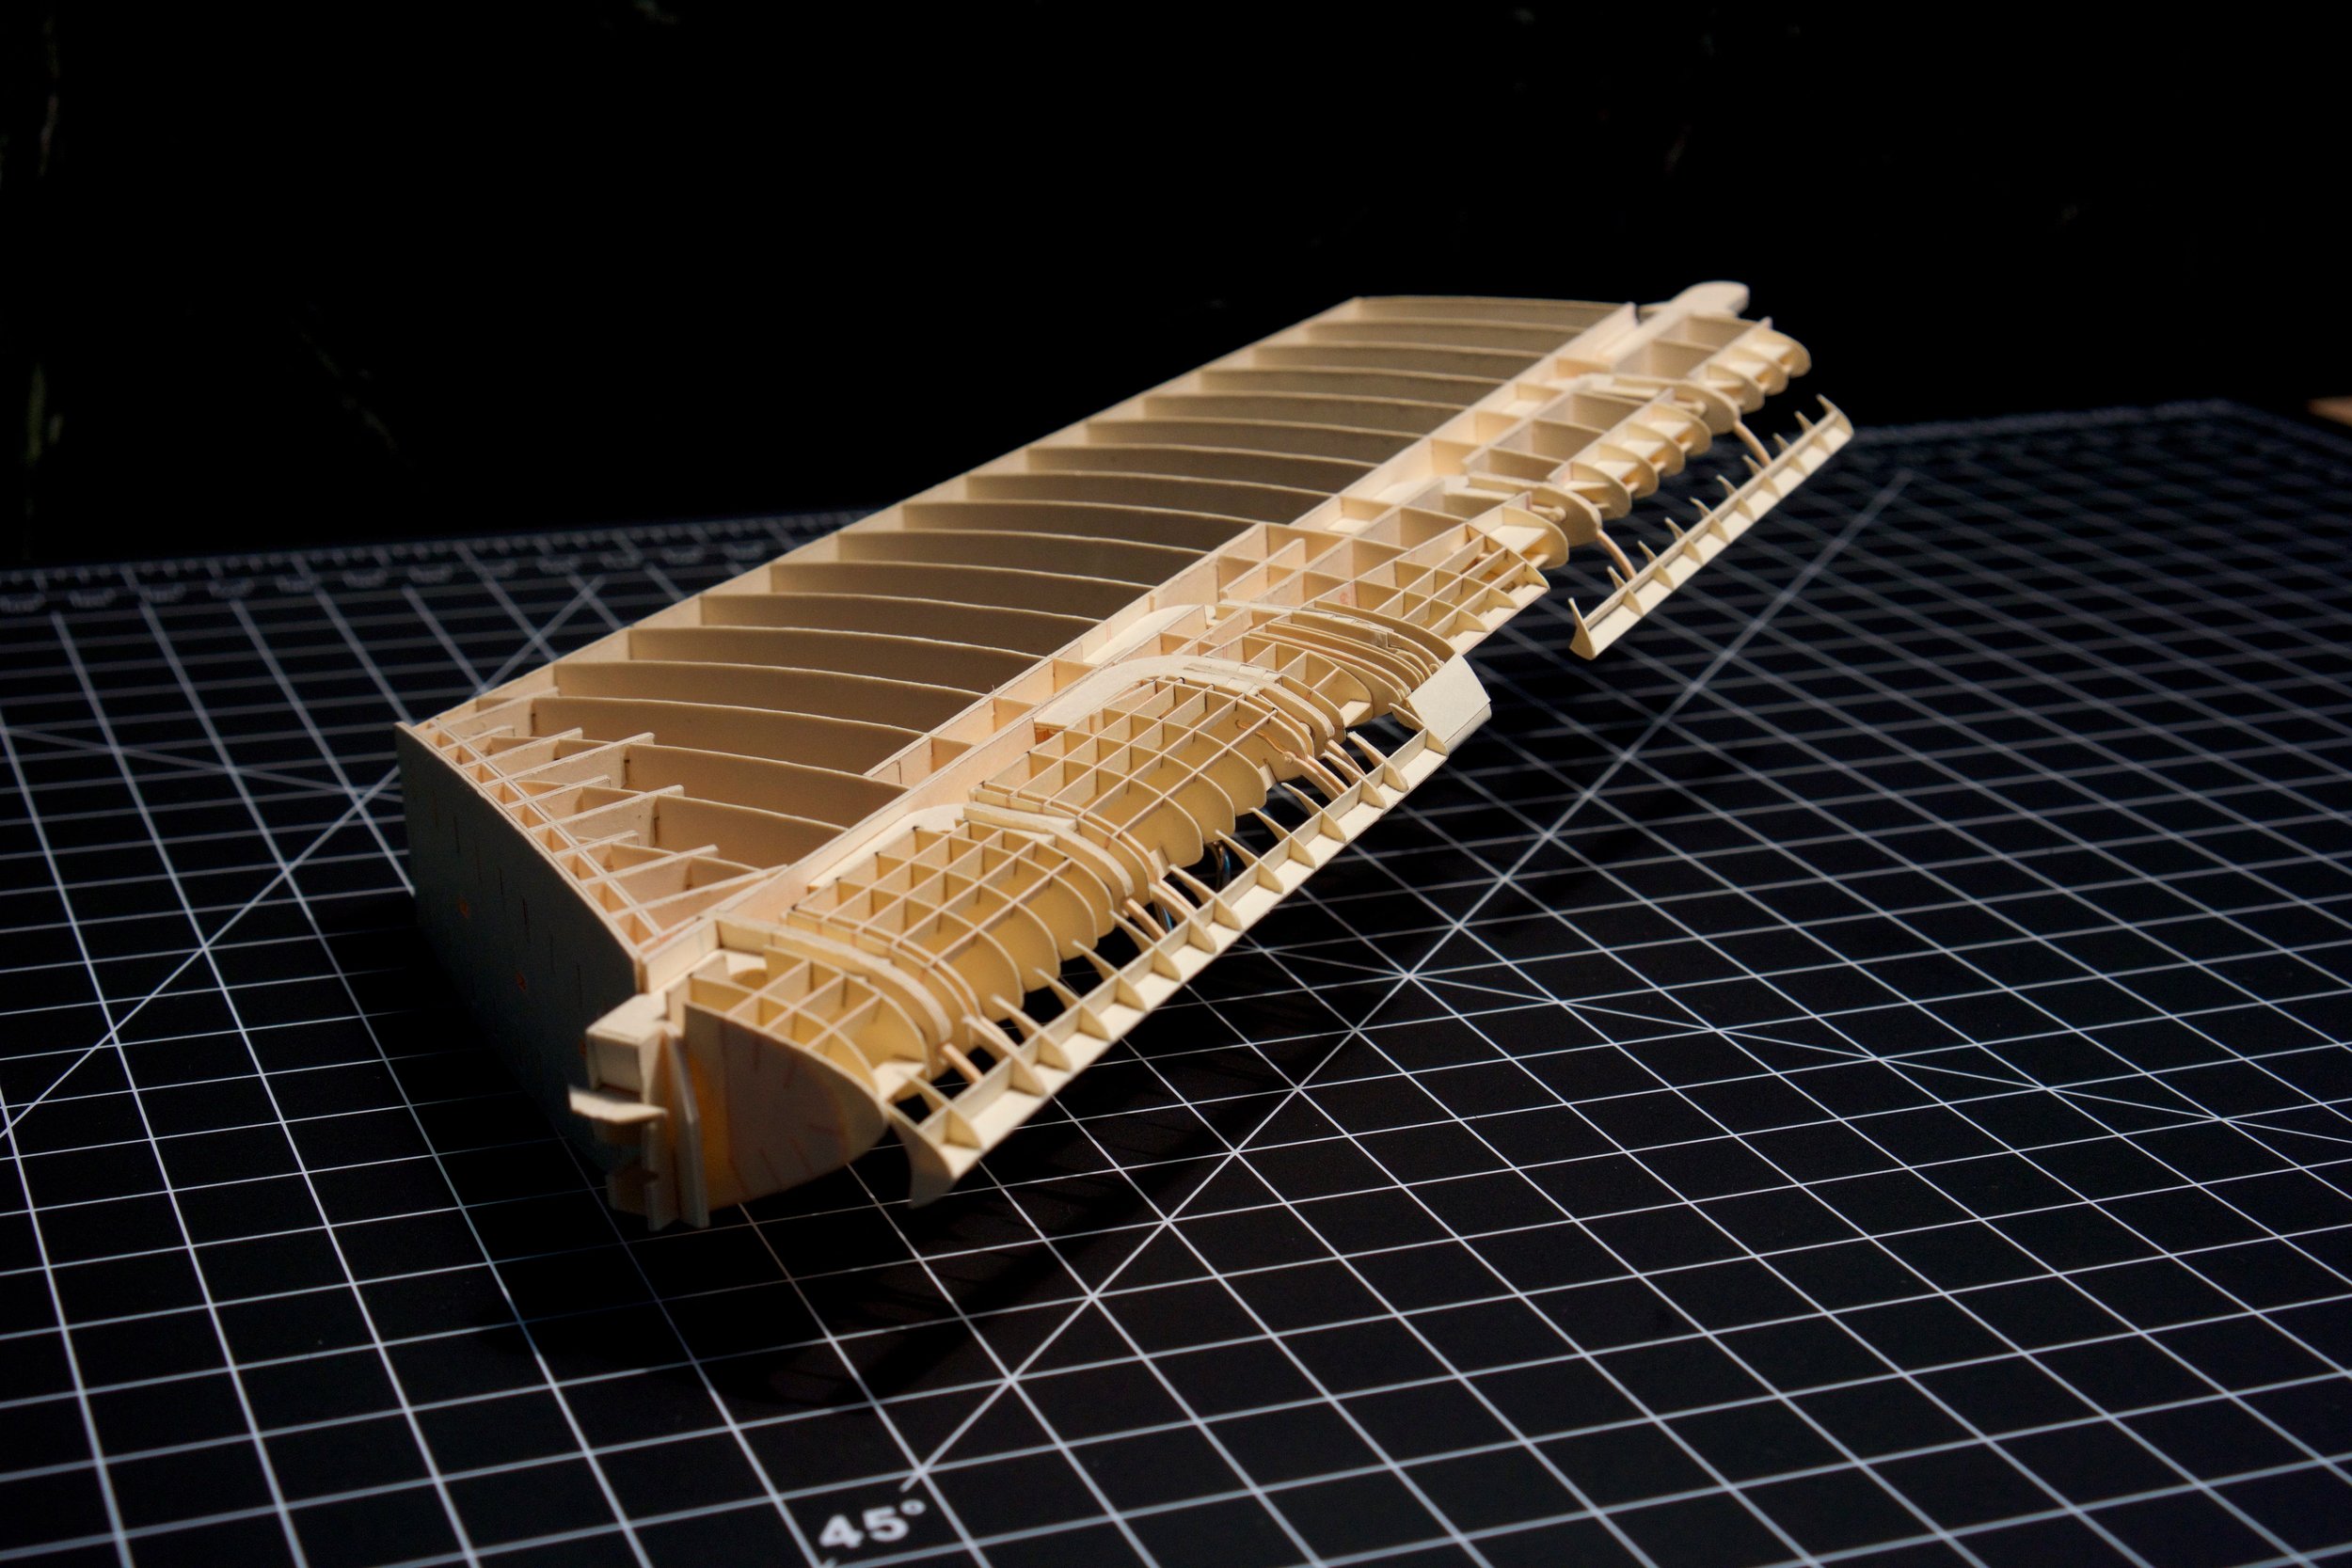
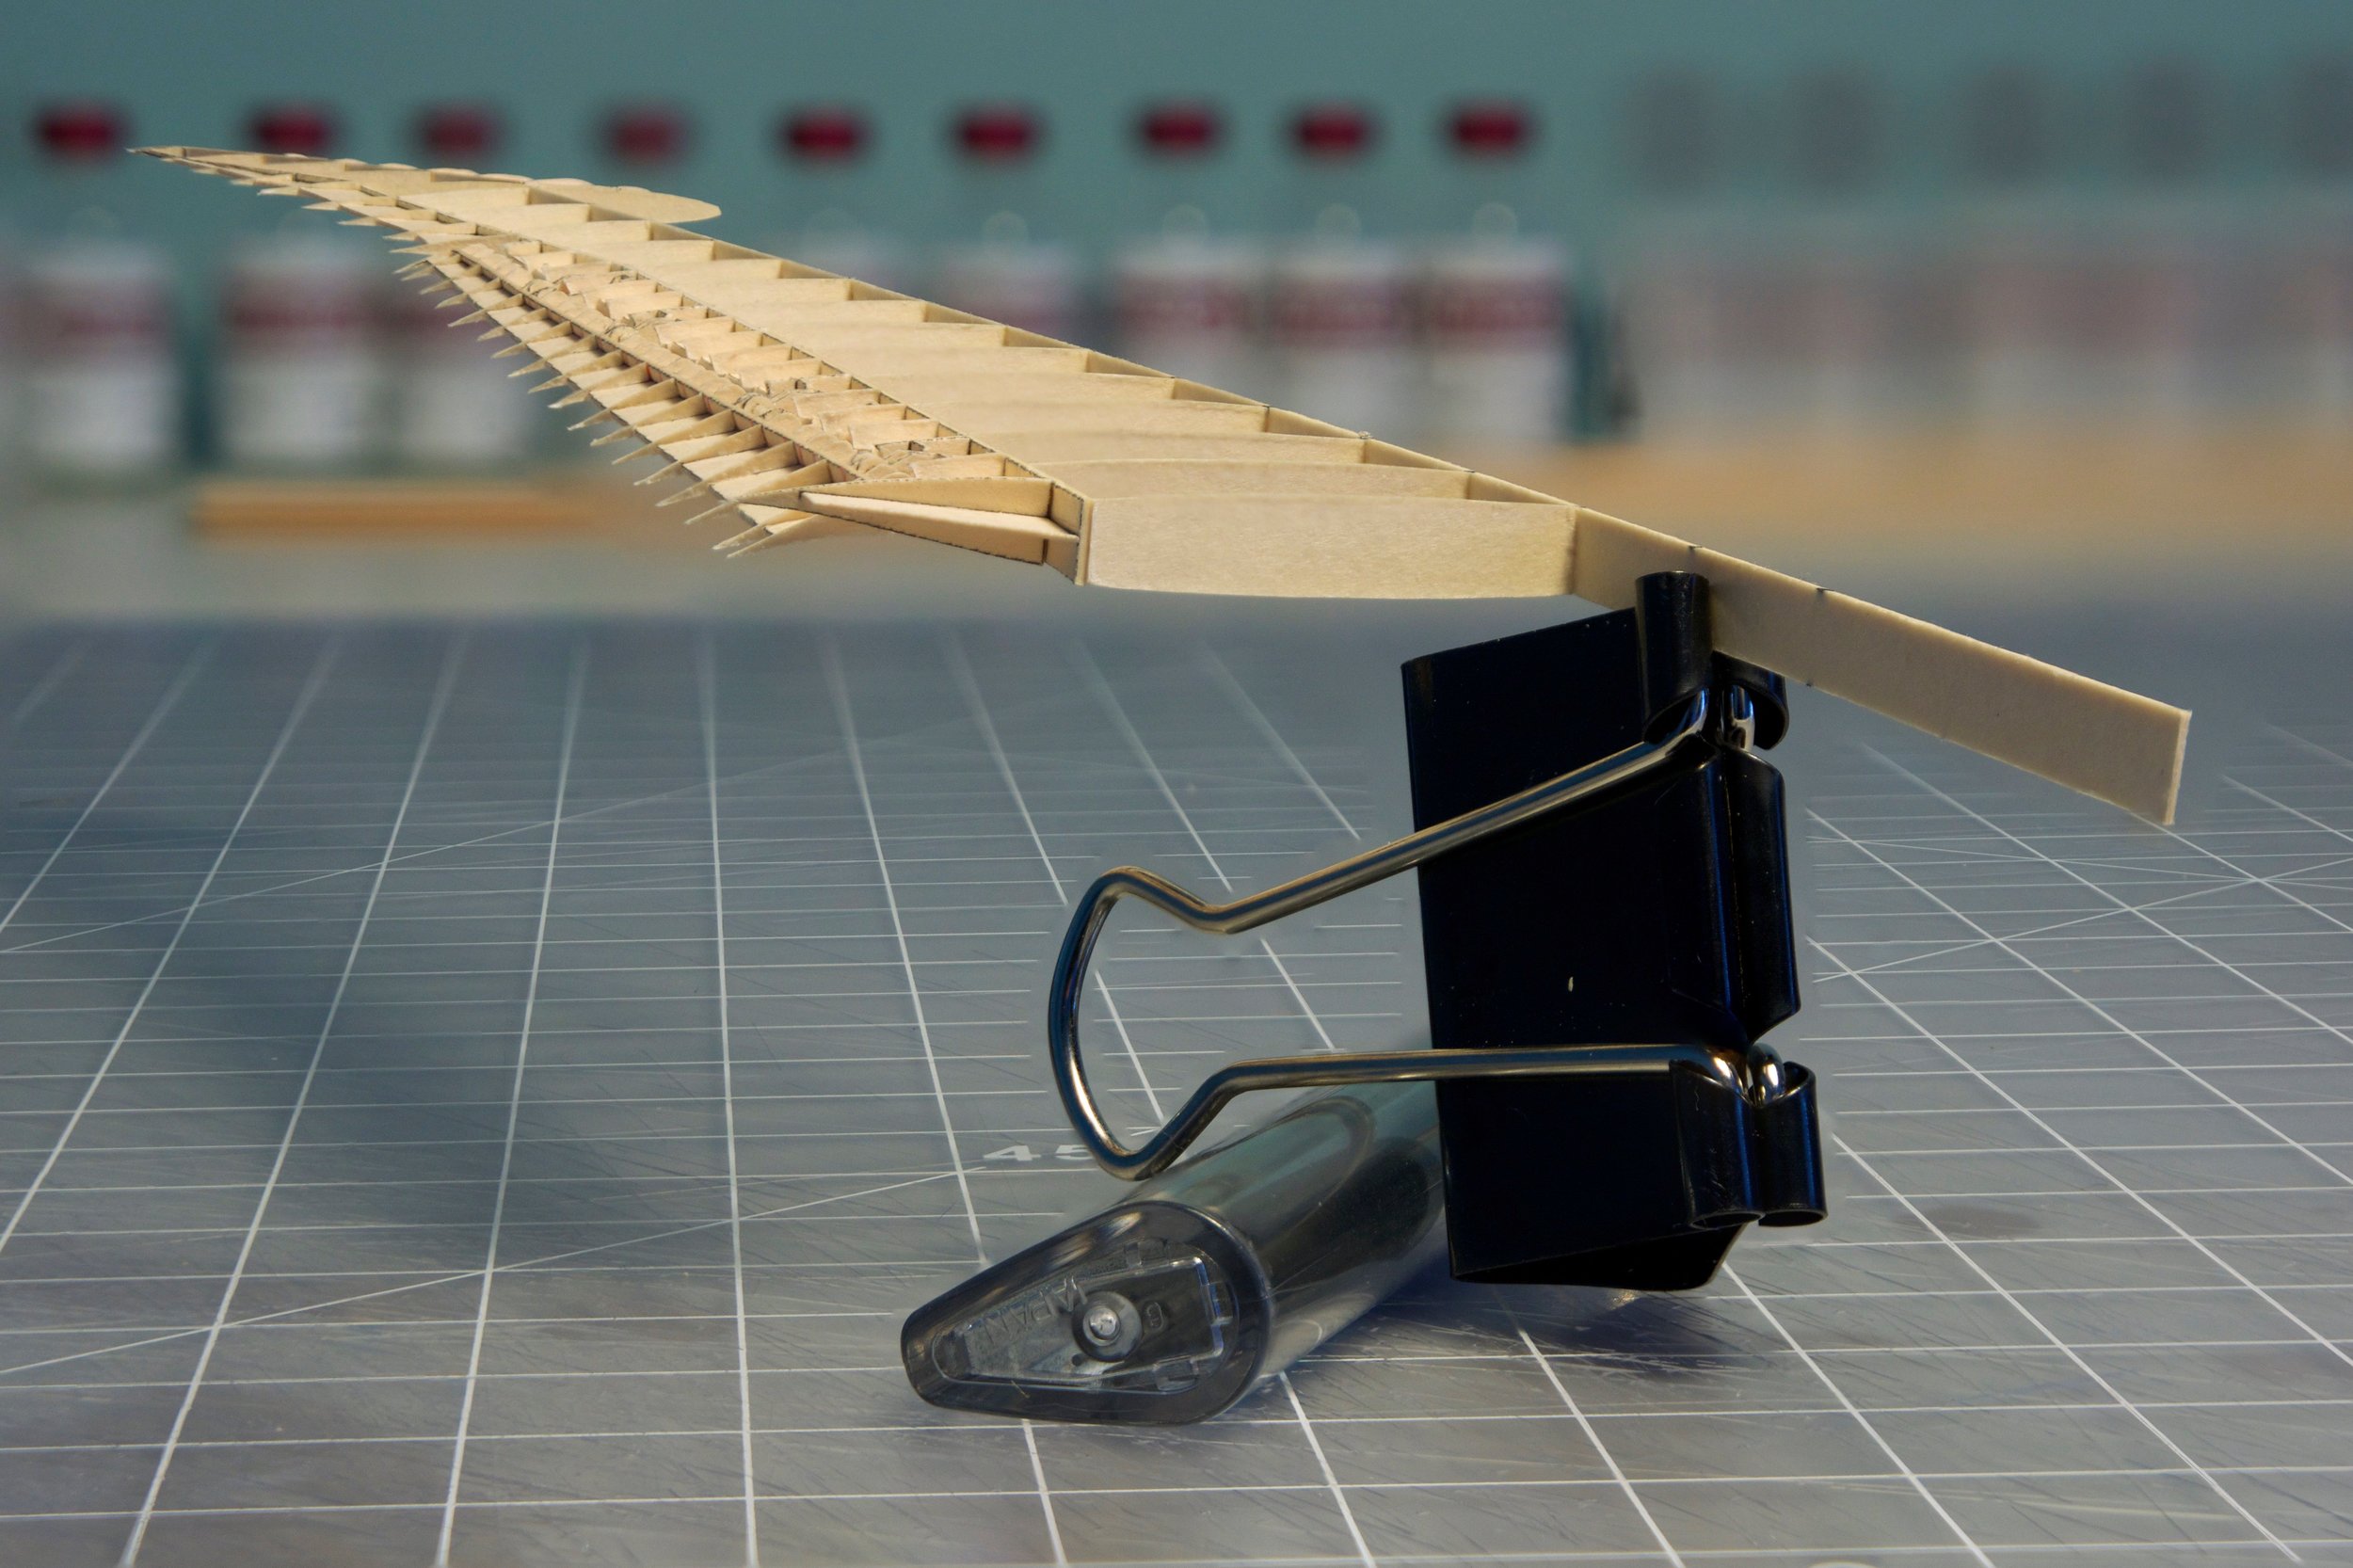
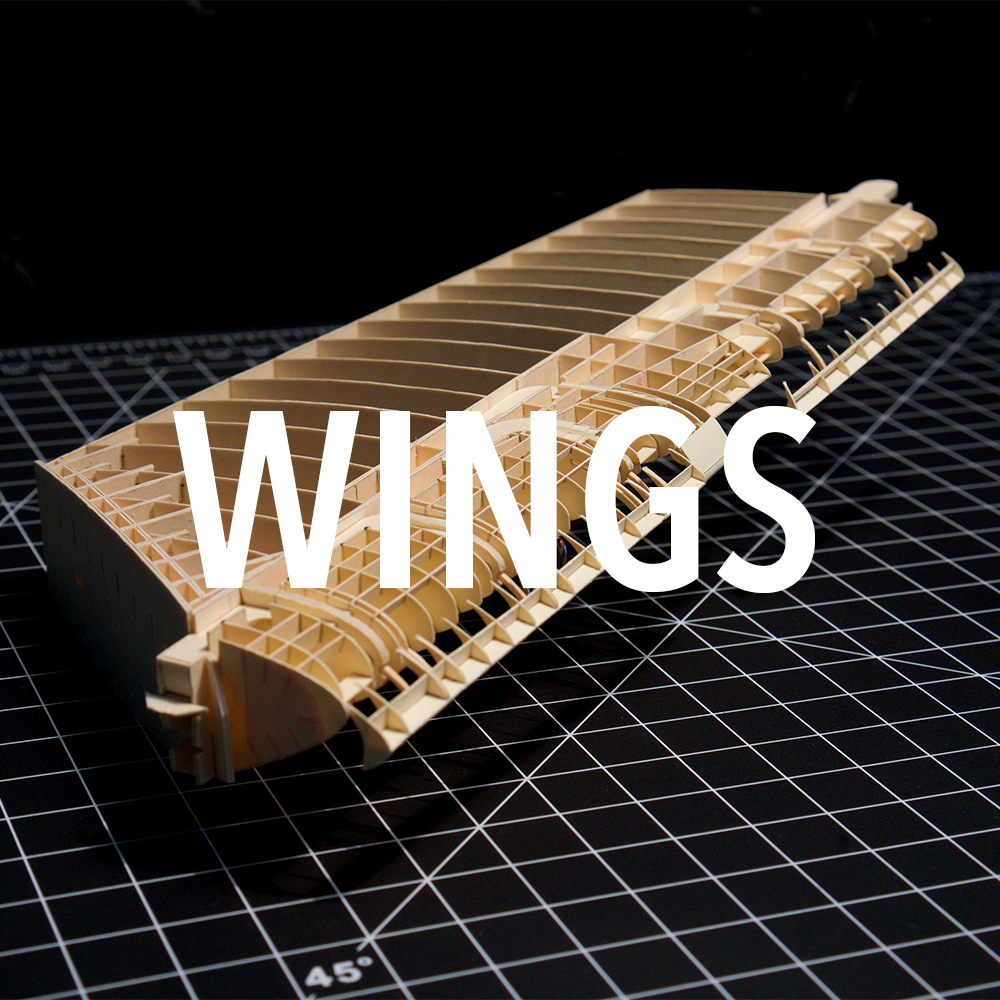
This stage is as time-consuming as the design process. I cut folders down to printer-friendly sizes and print my plans directly onto them. Then, I cut out the individual pieces using an Xacto knife, arrange them into sections, and glue them together with Tacky Glue. Often, a complex piece is actually a collection of much smaller sub-sections that each needs to be assembled separately before being joined together; this is especially true of something like the wing, which contains many articulating functions and thousands of parts.
TOOLS
My tools of choice include the aforementioned Xacto knife, a cutting mat, straight edges, squares, and a toothpick for the precise application of glue.
EXPLORE
CLICK BELOW FOR MORE INFO ON EACH SECTION
FOLLOW ME FOR UPDATES
Check out an expansive catalog of photos and videos about the project, and stay tuned for further updates!


